
Uygulamanızı App Check için kaydettikten sonra, uygulamanızı normalde App Check tarafından geçerli olarak sınıflandırılmayacak bir ortamda (ör. geliştirme sırasında yerel olarak veya sürekli entegrasyon (CI) ortamında) çalıştırmak istiyorsanız uygulamanızın hata ayıklama sağlayıcı yerine gerçek bir onay sağlayıcı kullanan bir hata ayıklama sürümünü oluşturabilirsiniz.App Check
localhost'ta hata ayıklama sağlayıcısını kullanma
Uygulamanızı localhost üzerinden çalıştırırken (örneğin, geliştirme sırasında) hata ayıklama sağlayıcısını kullanmak için aşağıdakileri yapın:
Hata ayıklama derlemenizde, App Check öğesini başlatmadan önce
self.FIREBASE_APPCHECK_DEBUG_TOKENdeğerinitrueolarak ayarlayarak hata ayıklama modunu etkinleştirin. Örneğin:Web
self.FIREBASE_APPCHECK_DEBUG_TOKEN = true;
initializeAppCheck(app, { /* App Check options */ });
Web
self.FIREBASE_APPCHECK_DEBUG_TOKEN = true; firebase.appCheck().activate(/* site key or provider */);Web uygulamanızı yerel olarak ziyaret edin ve tarayıcının geliştirici aracını açın. Hata ayıklama konsolunda bir hata ayıklama jetonu görürsünüz:
AppCheck debug token: "123a4567-b89c-12d3-e456-789012345678". You will
need to safelist it in the Firebase console for it to work.
Firebase konsolunda Güvenlik > Uygulama Kontrolü'ne gidin.
Az önce kaydettiğiniz hata ayıklama jetonunuzu kaydedin.
- Uygulamalar sekmesinde uygulamanızı bulun.
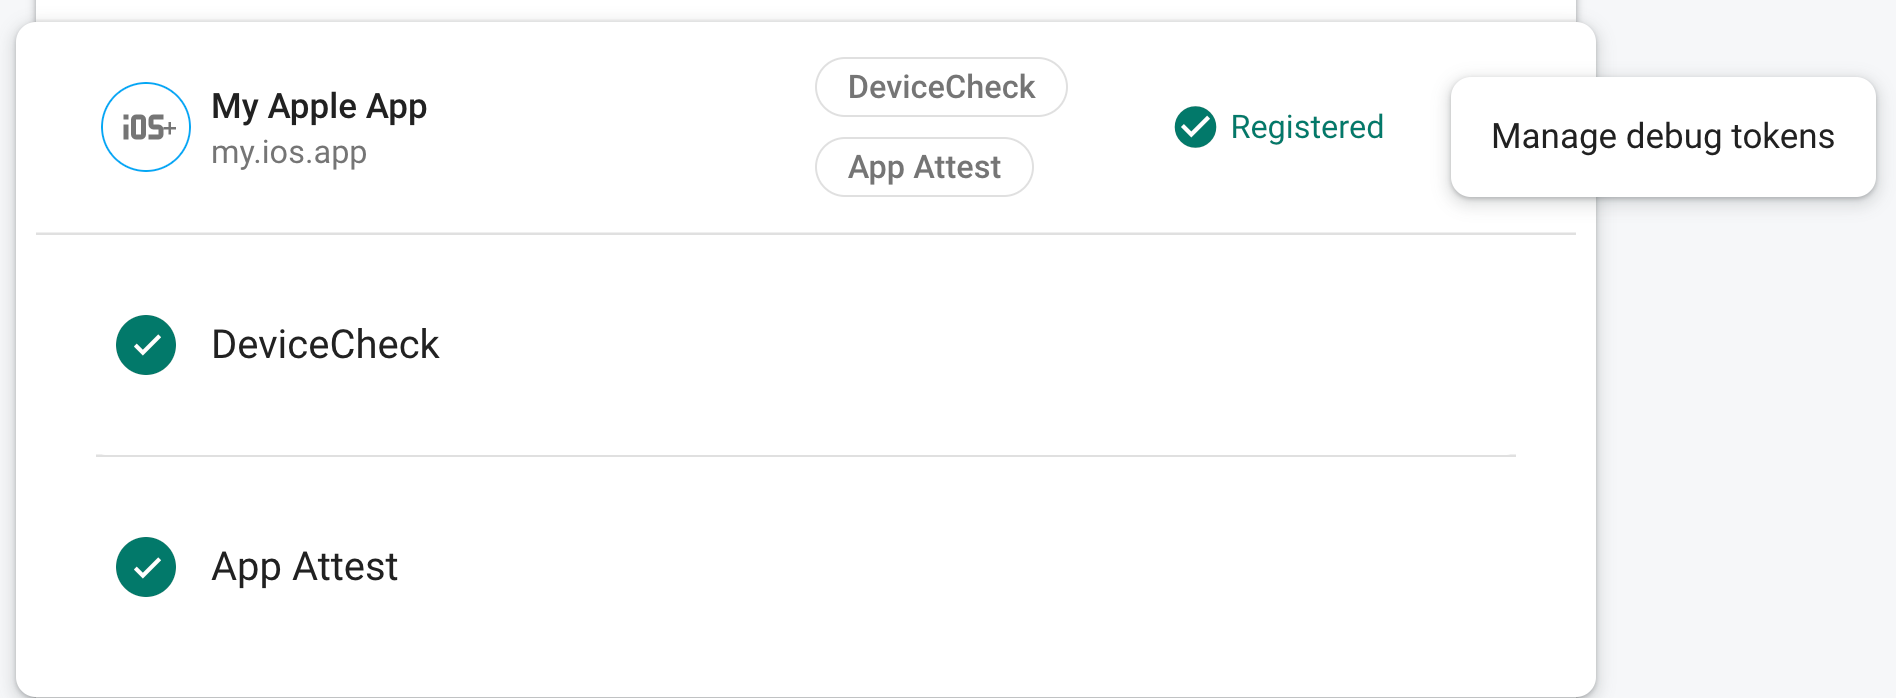
- Uygulamanızın taşma menüsünden Hata ayıklama jetonlarını yönet'i seçin.
- Hata ayıklama jetonunuzu kaydetmek için ekrandaki talimatları uygulayın.
Jetonu kaydettikten sonra Firebase arka uç hizmetleri bunu geçerli olarak kabul eder.
Bu jeton, geçerli bir cihaz olmadan Firebase kaynaklarınıza erişime izin verdiğinden gizli tutmanız çok önemlidir. Herkese açık bir depoya işlemeyin ve kayıtlı bir jetonun güvenliği ihlal edilirse Firebase konsolunda hemen iptal edin.
Bu jeton tarayıcınızda yerel olarak depolanır ve uygulamanızı aynı makinede aynı tarayıcıda her kullandığınızda kullanılır. Jetonu başka bir tarayıcıda veya makinede kullanmak istiyorsanız self.FIREBASE_APPCHECK_DEBUG_TOKEN değerini true yerine jeton dizesi olarak ayarlayın.
CI ortamında hata ayıklama sağlayıcısını kullanma
Sürekli entegrasyon (CI) ortamında hata ayıklama sağlayıcısını kullanmak için aşağıdakileri yapın:
Firebase konsolunda Güvenlik > App Check > Uygulamalar'a gidin.
Hata ayıklama jetonu oluşturun. Bu jetona bir sonraki adımda ihtiyacınız olacak.
- Uygulamanızın taşma menüsünden Hata ayıklama jetonlarını yönet'i seçin.
- Yeni bir hata ayıklama jetonu oluşturmak için ekrandaki talimatları uygulayın.
Bu jeton, geçerli bir cihaz olmadan Firebase kaynaklarınıza erişime izin verdiğinden gizli tutmanız çok önemlidir. Herkese açık bir depoya işlemeyin ve kayıtlı bir jetonun güvenliği ihlal edilirse Firebase konsolunda hemen iptal edin.
Yeni oluşturduğunuz hata ayıklama jetonunu CI sisteminizin güvenli anahtar deposuna ekleyin (ör. GitHub Actions'ın şifrelenmiş sırları veya Travis CI'ın şifrelenmiş değişkenleri).
Gerekirse hata ayıklama jetonunuzu CI ortamında ortam değişkeni olarak kullanılabilir hale getirmek için CI sisteminizi yapılandırın. Değişkeni
APP_CHECK_DEBUG_TOKEN_FROM_CIgibi bir adla adlandırın.Hata ayıklama derlemenizde,
self.FIREBASE_APPCHECK_DEBUG_TOKENdeğerini hata ayıklama jetonu ortam değişkeninin değerine ayarlayarak hata ayıklama modunu etkinleştirin. Bunu, App Check öğesini içe aktarmadan önce yapmanız gerekir. Örneğin:Web
self.FIREBASE_APPCHECK_DEBUG_TOKEN = process.env.APP_CHECK_DEBUG_TOKEN_FROM_CI;
initializeAppCheck(app, { /* App Check options */ });
Web
self.FIREBASE_APPCHECK_DEBUG_TOKEN = process.env.APP_CHECK_DEBUG_TOKEN_FROM_CI;
firebase.appCheck().activate(/* site key or provider */);
Uygulamanız bir CI ortamında çalışırken Firebase arka uç hizmetleri, gönderdiği jetonu geçerli olarak kabul eder.