
Jika Anda telah mendaftarkan aplikasi untuk App Check dan ingin menjalankan aplikasi di lingkungan yang biasanya tidak akan diklasifikasikan sebagai valid oleh App Check, seperti secara lokal selama pengembangan atau dari lingkungan continuous integration (CI), Anda dapat membuat build debug aplikasi yang menggunakan penyedia debug App Check, bukan penyedia pengesahan sungguhan.
Menggunakan penyedia debug di localhost
Untuk menggunakan penyedia debug saat menjalankan aplikasi Anda dari localhost (misalnya, selama pengembangan), lakukan hal berikut:
Dalam build debug, aktifkan mode debug dengan menetapkan
self.FIREBASE_APPCHECK_DEBUG_TOKENketruesebelum Anda melakukan inisialisasi App Check. Contoh:Web
self.FIREBASE_APPCHECK_DEBUG_TOKEN = true;
initializeAppCheck(app, { /* App Check options */ });
Web
self.FIREBASE_APPCHECK_DEBUG_TOKEN = true; firebase.appCheck().activate(/* site key or provider */);Buka aplikasi web Anda secara lokal, lalu buka alat developer browser. Di konsol debug, Anda akan melihat token debug:
AppCheck debug token: "123a4567-b89c-12d3-e456-789012345678". You will
need to safelist it in the Firebase console for it to work.
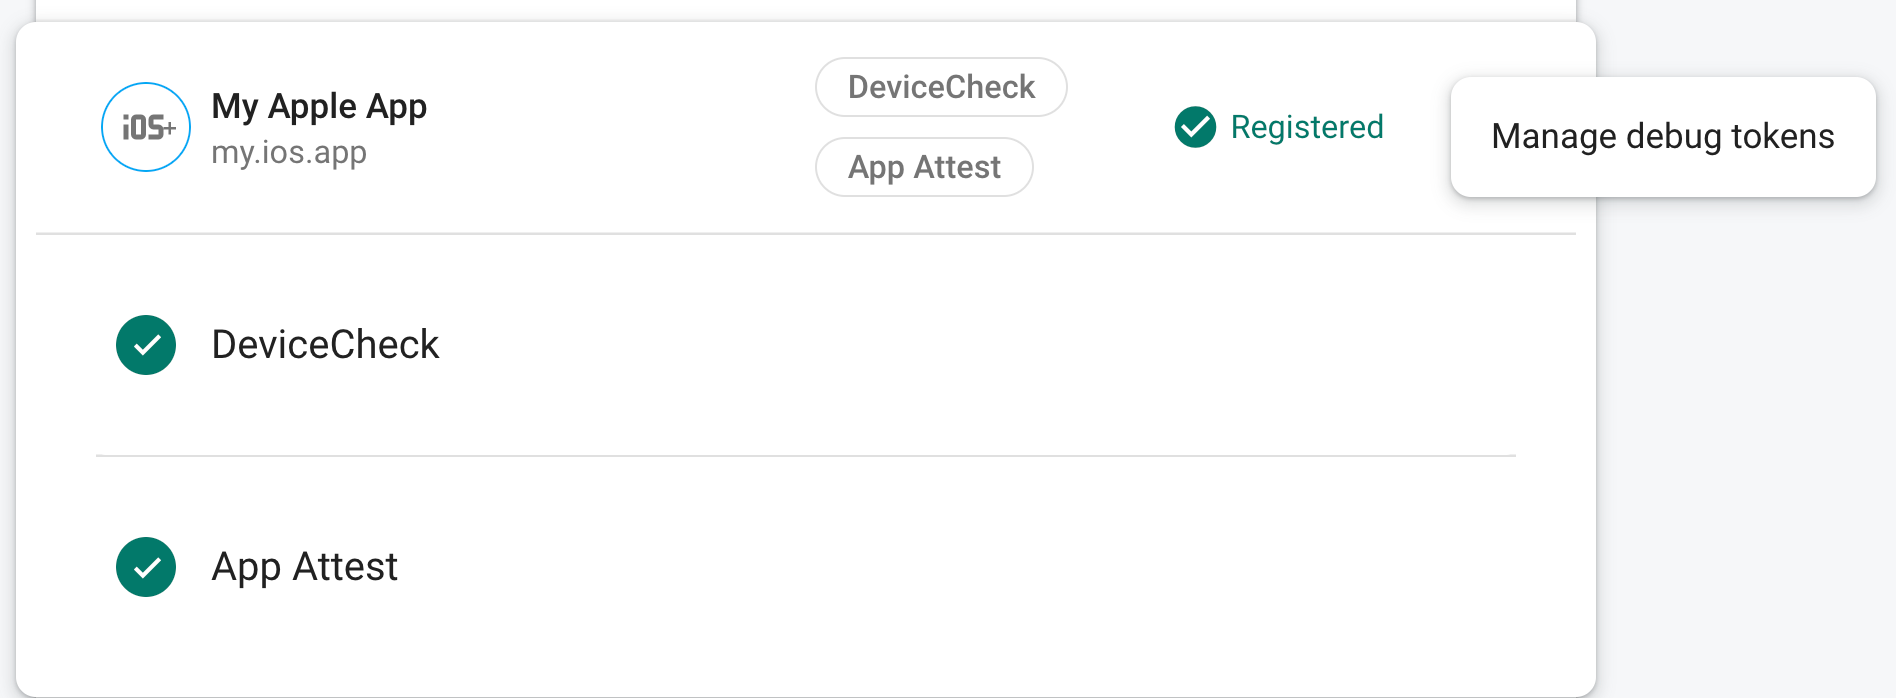
Di bagian App Check pada Firebase console, pilih Manage debug tokens dari menu tambahan aplikasi. Kemudian daftarkan token debug yang Anda catat dalam log di langkah sebelumnya.
Setelah Anda mendaftarkan token, layanan backend Firebase akan menerimanya sebagai valid.
Karena token ini memungkinkan akses ke resource Firebase Anda tanpa perangkat yang valid, Anda harus menjaga kerahasiaannya. Jangan meng-commit token ke repositori publik, dan jika token yang terdaftar pernah terungkap kerahasiaannya, segera cabut token tersebut di Firebase console.
Token ini disimpan secara lokal di browser dan akan digunakan setiap kali Anda menggunakan aplikasi di browser yang sama pada perangkat yang sama. Jika Anda ingin menggunakan token di browser lain atau di mesin lain, tetapkan self.FIREBASE_APPCHECK_DEBUG_TOKEN ke string token, bukan true.
Menggunakan penyedia debug di lingkungan CI
Untuk menggunakan penyedia debug di lingkungan continuous integration (CI), lakukan hal berikut:
Di bagian App Check pada Firebase console, pilih Manage debug tokens dari menu tambahan aplikasi. Kemudian, buat token debug baru. Anda memerlukan token tersebut di langkah berikutnya.
Karena token ini memungkinkan akses ke resource Firebase Anda tanpa perangkat yang valid, Anda harus menjaga kerahasiaannya. Jangan meng-commit token ke repositori publik, dan jika token yang terdaftar pernah terungkap kerahasiaannya, segera cabut token tersebut di Firebase console.
Tambahkan token debug yang baru saja dibuat ke penyimpanan kunci yang aman di sistem CI Anda (misalnya, rahasia terenkripsi GitHub Action atau variabel terenkripsi Travis CI).
Jika perlu, konfigurasikan sistem CI Anda untuk menyediakan token debug dalam lingkungan CI sebagai variabel lingkungan. Beri nama variabel, seperti
APP_CHECK_DEBUG_TOKEN_FROM_CI.Dalam build debug, aktifkan mode debug dengan menetapkan
self.FIREBASE_APPCHECK_DEBUG_TOKENke nilai variabel lingkungan token debug sebelum mengimpor App Check. Contoh:Web
self.FIREBASE_APPCHECK_DEBUG_TOKEN = process.env.APP_CHECK_DEBUG_TOKEN_FROM_CI;
initializeAppCheck(app, { /* App Check options */ });
Web
self.FIREBASE_APPCHECK_DEBUG_TOKEN = process.env.APP_CHECK_DEBUG_TOKEN_FROM_CI;
firebase.appCheck().activate(/* site key or provider */);
Saat aplikasi Anda berjalan di lingkungan CI, layanan backend Firebase akan menerima token yang dikirimkan aplikasi sebagai valid.