
앱 체크에 앱을 등록하면 일반적으로 에뮬레이터 또는 지속적 통합(CI) 환경에서 앱이 실행되지 않습니다. 이러한 환경은 유효한 기기로 인정되지 않기 때문입니다. 개발 및 테스트 중에 이러한 환경에서 앱을 실행하려면 실제 증명 제공자 대신 앱 체크 디버그 제공자를 사용하는 앱의 디버그 빌드를 만들면 됩니다.
Apple 플랫폼
시뮬레이터에서 대화형으로 앱을 실행하는 동안(예: 개발 중에) 디버그 제공자를 사용하려면 다음 안내를 따르세요.
Firebase 앱을 초기화한 직후 디버그 제공자로 앱 체크를 활성화합니다.
import 'package:flutter/material.dart';
import 'package:firebase_core/firebase_core.dart';

// Import the firebase_app_check plugin
import 'package:firebase_app_check/firebase_app_check.dart';

Future<void> main() async {
  WidgetsFlutterBinding.ensureInitialized();
  await Firebase.initializeApp();
  await FirebaseAppCheck.instance.activate(
    // Set appleProvider to `AppleProvider.debug`
    appleProvider: AppleProvider.debug,
  );
  runApp(App());
}
Xcode 프로젝트(v11.0 이상)에서 디버그 로깅을 사용 설정합니다.
- Product(제품) > Scheme(스키마) > Edit scheme(스키마 수정)을 엽니다.
- 왼쪽 메뉴에서 Run(실행)을 선택한 다음 Arguments(인수) 탭을 선택합니다.
- Arguments Passed on Launch(실행 시 인수 전달) 섹션에
-FIRDebugEnabled를 추가합니다.
Xcode로
ios/Runner.xcworkspace를 열고 시뮬레이터에서 앱을 실행합니다. Firebase가 백엔드로 요청을 보내려고 하면 앱에서 로컬 디버그 토큰을 디버그 출력에 출력합니다. 예를 들면 다음과 같습니다.Firebase App Check Debug Token: 123a4567-b89c-12d3-e456-789012345678
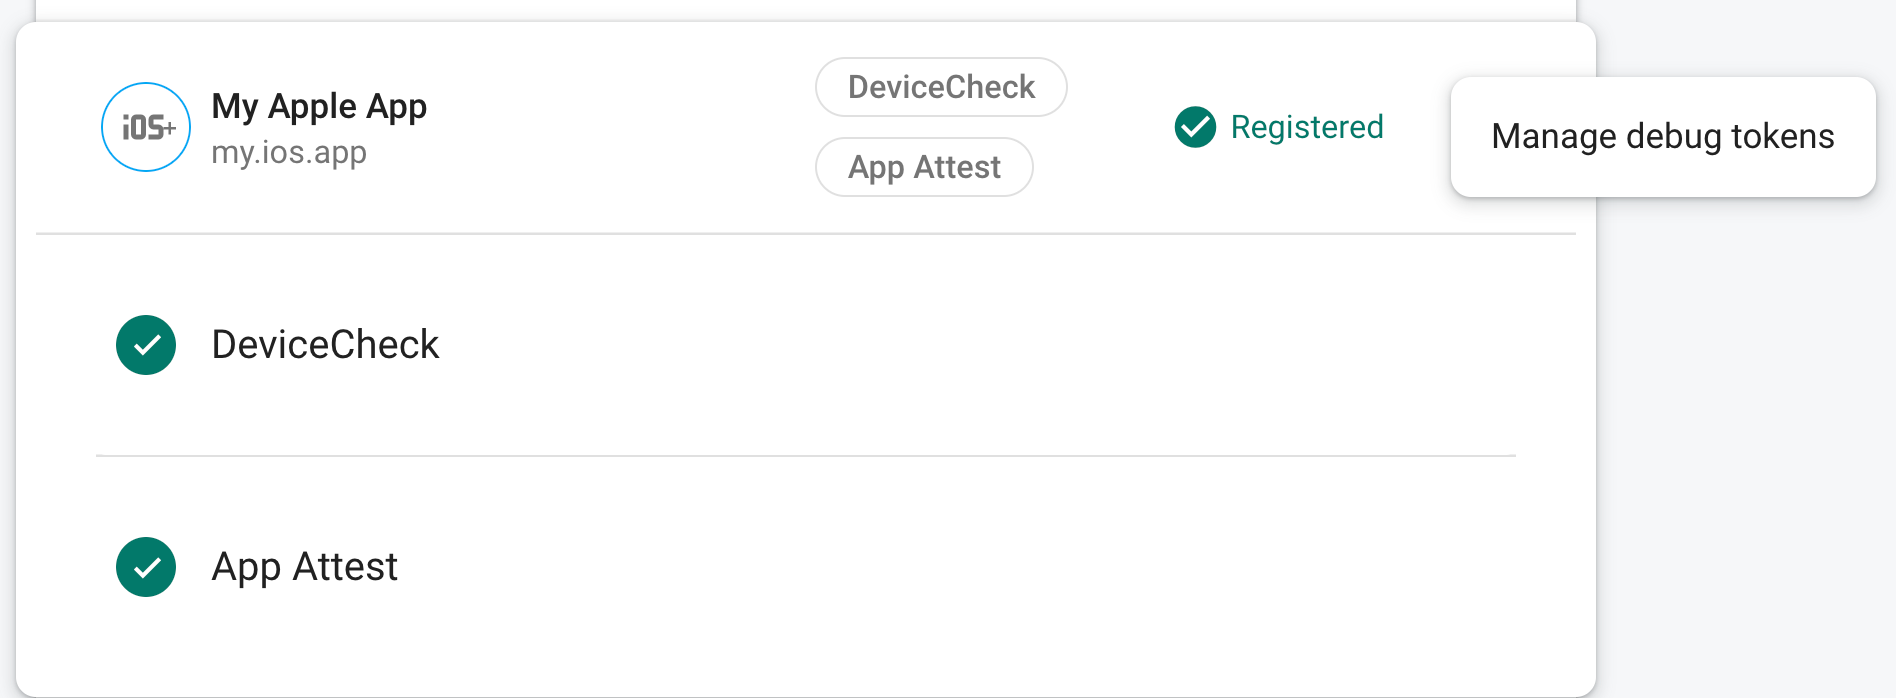
Firebase Console의 App Check 섹션에 있는 앱의 더보기 메뉴에서 디버그 토큰 관리를 선택합니다. 그런 다음 이전 단계에서 로깅한 디버그 토큰을 등록합니다.
토큰을 등록하면 Firebase 백엔드 서비스에서 토큰을 유효한 것으로 간주합니다.
이 토큰은 유효한 기기 없이도 Firebase 리소스에 액세스를 허용하므로 비공개로 유지하는 것이 중요합니다. 공개 저장소에 커밋하지 말고 등록된 토큰이 손상된 경우 Firebase Console에서 즉시 취소합니다.
Android
Android 환경에서 Flutter 앱을 실행하는 동안 디버그 제공자를 사용하려면 Flutter 애플리케이션에서 다음 코드를 구현합니다.
import 'package:flutter/material.dart';
import 'package:firebase_core/firebase_core.dart';

// Import the firebase_app_check plugin
import 'package:firebase_app_check/firebase_app_check.dart';

Future<void> main() async {
  WidgetsFlutterBinding.ensureInitialized();
  await Firebase.initializeApp();
  await FirebaseAppCheck.instance.activate(
    webRecaptchaSiteKey: 'recaptcha-v3-site-key',
    // Set androidProvider to `AndroidProvider.debug`
    androidProvider: AndroidProvider.debug,
  );
  runApp(App());
}
Firebase가 백엔드로 요청을 보내려고 하면 앱에서 로컬 디버그 토큰을 디버그 출력에 출력합니다. 예를 들면 다음과 같습니다.
D DebugAppCheckProvider: Enter this debug secret into the allow list in
the Firebase Console for your project: 123a4567-b89c-12d3-e456-789012345678
Firebase Console의 App Check 섹션에 있는 앱의 더보기 메뉴에서 디버그 토큰 관리를 선택합니다. 그런 다음 이전 단계에서 로깅한 디버그 토큰을 등록합니다.
토큰을 등록하면 Firebase 백엔드 서비스에서 토큰을 유효한 것으로 간주합니다.
웹
localhost에서 앱을 실행하는 동안(예: 개발 중에) 디버그 제공자를 사용하려면 다음을 수행합니다.
web/index.html파일에서self.FIREBASE_APPCHECK_DEBUG_TOKEN을true로 설정하여 디버그 모드를 사용 설정합니다.<body> <script> self.FIREBASE_APPCHECK_DEBUG_TOKEN = true; </script> ... </body>로컬에서 웹 앱을 실행하여 브라우저의 개발자 도구를 엽니다. 디버그 콘솔에 디버그 토큰이 표시됩니다.
AppCheck debug token: "123a4567-b89c-12d3-e456-789012345678". You will
need to safelist it in the Firebase console for it to work.
이 토큰은 브라우저에 로컬로 저장되며 동일한 머신의 동일한 브라우저에서 앱을 사용할 때마다 사용됩니다. 다른 브라우저 또는 다른 머신에서 토큰을 사용하려면
self.FIREBASE_APPCHECK_DEBUG_TOKEN을true대신 토큰 문자열로 설정합니다.Firebase Console의 App Check 섹션에 있는 앱의 더보기 메뉴에서 디버그 토큰 관리를 선택합니다. 그런 다음 이전 단계에서 로깅한 디버그 토큰을 등록합니다.
토큰을 등록하면 Firebase 백엔드 서비스에서 토큰을 유효한 것으로 간주합니다.
이 토큰은 유효한 기기 없이도 Firebase 리소스에 액세스를 허용하므로 비공개로 유지하는 것이 중요합니다. 공개 저장소에 커밋하지 말고 등록된 토큰이 손상된 경우 Firebase Console에서 즉시 취소합니다.