
بعد تسجيل تطبيقك في فحص التطبيقات، لن يتم تشغيله عادةً في محاكي أو من بيئة تكامل مستمر (CI)، لأنّ هذه البيئات لا تُعد أجهزة صالحة. إذا أردت تشغيل تطبيقك في مثل هذه البيئة أثناء عملية التطوير والاختبار، يمكنك إنشاء إصدار مخصص لتصحيح الأخطاء من تطبيقك يستخدم موفّر تصحيح الأخطاء في فحص التطبيقات بدلاً من موفّر إثبات صحة حقيقي.
منصات Apple
لاستخدام موفّر تصحيح الأخطاء أثناء تشغيل تطبيقك في محاكي بشكل تفاعلي (أثناء التطوير مثلاً)، اتّبِع الخطوات التالية:
فعِّل فحص التطبيقات باستخدام موفّر تصحيح الأخطاء مباشرةً بعد إعداد تطبيق Firebase:
import 'package:flutter/material.dart';
import 'package:firebase_core/firebase_core.dart';

// Import the firebase_app_check plugin
import 'package:firebase_app_check/firebase_app_check.dart';

Future<void> main() async {
  WidgetsFlutterBinding.ensureInitialized();
  await Firebase.initializeApp();
  await FirebaseAppCheck.instance.activate(
    // Set appleProvider to `AppleProvider.debug`
    appleProvider: AppleProvider.debug,
  );
  runApp(App());
}
فعِّل تسجيل معلومات تصحيح الأخطاء في مشروع Xcode (الإصدار 11.0 أو إصدار أحدث):
- افتح المنتج (Product) > المخطّط (Scheme) > تعديل المخطّط (Edit scheme).
- انقر على تشغيل (Run) من القائمة اليمنى، ثمّ انقر على علامة التبويب الوسيطات (Arguments).
- في قسم المَعلمات التي تم ضبطها عند الإطلاق (Arguments Passed on Launch)، أضِف
-FIRDebugEnabled.
افتح
ios/Runner.xcworkspaceباستخدام Xcode وشغِّل تطبيقك في المحاكي. سيطبع تطبيقك رمز تصحيح أخطاء محليًا في ناتج تصحيح الأخطاء عندما تحاول Firebase إرسال طلب إلى الخلفية. على سبيل المثال:Firebase App Check Debug Token: 123a4567-b89c-12d3-e456-789012345678
في Firebase، انتقِل إلى الأمان > فحص التطبيقات.
سجِّل رمز تصحيح الأخطاء الذي سجّلته للتو.
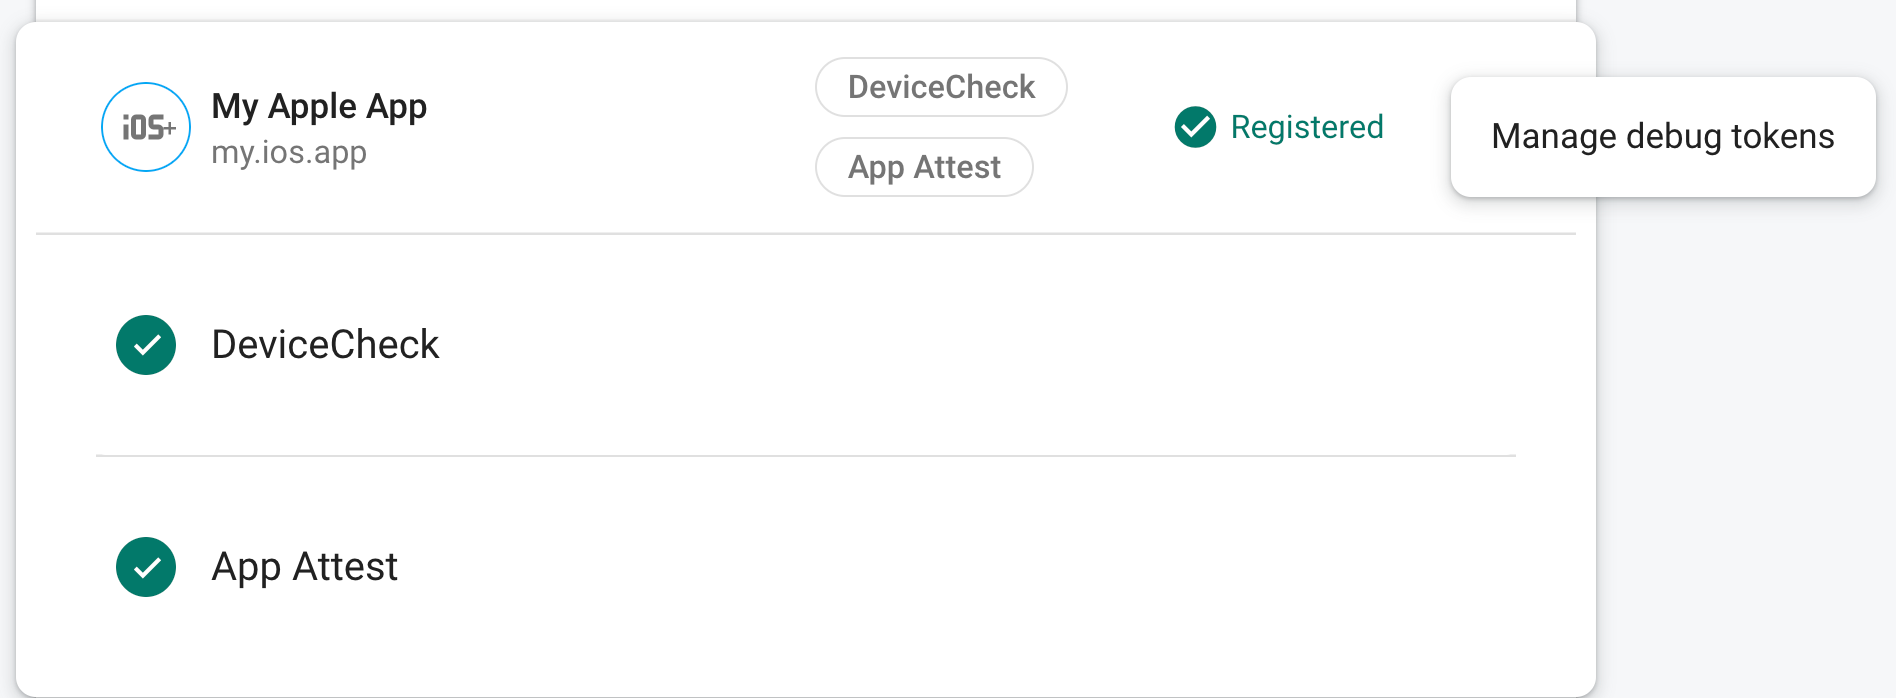
- في علامة التبويب التطبيقات، ابحث عن تطبيقك.
- من القائمة الكاملة في تطبيقك، اختَر إدارة الرموز المميزة لتصحيح الأخطاء.
- اتّبِع التعليمات الظاهرة على الشاشة لتسجيل رمز تصحيح الأخطاء.
بعد تسجيل الرمز المميّز، ستقبله خدمات الخلفية في Firebase على أنّه صالح.
بما أنّ هذا الرمز المميّز يتيح الوصول إلى موارد Firebase بدون جهاز صالح، من الضروري الحفاظ على خصوصيته. لا ترسِل الرمز المميّز إلى مستودع عام، وإذا تم اختراق رمز مميّز مسجّل، عليك إبطاله على الفور في وحدة تحكّم Firebase.
Android
لاستخدام موفّر تصحيح الأخطاء أثناء تشغيل تطبيق Flutter في بيئة Android، نفِّذ الرمز التالي في تطبيق Flutter:
import 'package:flutter/material.dart';
import 'package:firebase_core/firebase_core.dart';

// Import the firebase_app_check plugin
import 'package:firebase_app_check/firebase_app_<chec>k.dart';

Futurevoid main() async {
  WidgetsFlutterBinding.ensureInitialized();
  await Firebase.initializeApp();
  await FirebaseAppCheck.instance.activate(
    webRecaptchaSiteKey: 'recaptcha-v3-site-key',
    // Set androidProvider to `AndroidProvider.debug`
    androidProvider: AndroidProvider.debug,
  );
  runApp(App());
}
سيطبع تطبيقك رمز تصحيح أخطاء محليًا في ناتج تصحيح الأخطاء عندما تحاول Firebase إرسال طلب إلى الخلفية. على سبيل المثال:
D DebugAppCheckProvider: Enter this debug secret into the allow list in
the Firebase Console for your project: 123a4567-b89c-12d3-e456-789012345678
في Firebase، انتقِل إلى الأمان > فحص التطبيقات.
سجِّل رمز تصحيح الأخطاء الذي سجّلته للتو.
- في علامة التبويب التطبيقات، ابحث عن تطبيقك.
- من القائمة الكاملة في تطبيقك، اختَر إدارة الرموز المميزة لتصحيح الأخطاء.
- اتّبِع التعليمات الظاهرة على الشاشة لتسجيل رمز تصحيح الأخطاء.
بعد تسجيل الرمز المميّز، ستقبله خدمات الخلفية في Firebase على أنّه صالح.
الويب
لاستخدام موفّر تصحيح الأخطاء أثناء تشغيل تطبيقك من localhost (أثناء عملية التطوير، مثلاً)، اتّبِع الخطوات التالية:
في الملف
web/index.html، فعِّل وضع تصحيح الأخطاء من خلال ضبطself.FIREBASE_APPCHECK_DEBUG_TOKENعلىtrue:<body> <script> self.FIREBASE_APPCHECK_DEBUG_TOKEN = true; </script> ... </body>شغِّل تطبيق الويب على جهازك وافتح أداة المطوّر في المتصفّح. في وحدة تصحيح الأخطاء، سيظهر رمز مميّز لتصحيح الأخطاء:
AppCheck debug token: "123a4567-b89c-12d3-e456-789012345678". You will
need to safelist it in the Firebase console for it to work.
يتم تخزين هذا الرمز المميز محليًا في متصفحك وسيتم استخدامه كلما استخدمت تطبيقك في المتصفح نفسه على الجهاز نفسه. إذا أردت استخدام الرمز المميّز في متصفّح آخر أو على جهاز آخر، اضبط قيمة
self.FIREBASE_APPCHECK_DEBUG_TOKENعلى سلسلة الرمز المميّز بدلاً منtrue.في Firebase، انتقِل إلى الأمان > فحص التطبيقات.
سجِّل رمز تصحيح الأخطاء الذي سجّلته للتو.
- في علامة التبويب التطبيقات، ابحث عن تطبيقك.
- من القائمة الكاملة في تطبيقك، اختَر إدارة الرموز المميزة لتصحيح الأخطاء.
- اتّبِع التعليمات الظاهرة على الشاشة لتسجيل رمز تصحيح الأخطاء.
بعد تسجيل الرمز المميّز، ستقبله خدمات الخلفية في Firebase على أنّه صالح.
بما أنّ هذا الرمز المميّز يتيح الوصول إلى موارد Firebase بدون جهاز صالح، من الضروري الحفاظ على خصوصيته. لا ترسِل الرمز المميّز إلى مستودع عام، وإذا تم اختراق رمز مميّز مسجّل، عليك إبطاله على الفور في وحدة تحكّم Firebase.