Every extension must have documentation that teaches users what the extension does and how to use it.
The minimum, required, documentation is this set of three markdown files:
PREINSTALL.mdPOSTINSTALL.mdCHANGELOG.md
In addition, you should also consider producing:
- A
READMEfile for the extension's public repository. - Longer-form tutorials, guides, and reference published on your own website and
linked in your
PREINSTALL.md.
To learn some best practices and common phrasing and structure, we recommend reviewing the files available with the official Firebase extensions.
Creating a README
Your extension directory can optionally contain a README. Note that the
firebase ext:dev:init command doesn't automatically generate one for you.
The Firebase CLI, though, does support the following convenience command to
auto-generate a README file containing content pulled from your
extension.yaml file and your PREINSTALL.md file:
firebase ext:info ./path/to/extension --markdown > README.md
All the README files for the official Firebase extensions are generated using this command.
Add installation information
After you write or generate a README, add installation information to it. You can use the following snippet as a template:
--- ## 🧩 Install this extension ### Console [][install-link] [install-link]: https://console.firebase.google.com/project/_/extensions/install?ref=publisher_id/extension_name ### Firebase CLI ```bash firebase ext:install publisher_id/extension_name --project=[your-project-id] ``` > Learn more about installing extensions in the Firebase Extensions documentation: > [console](https://firebase.google.com/docs/extensions/install-extensions?platform=console), > [CLI](https://firebase.google.com/docs/extensions/install-extensions?platform=cli) ---
Writing a PREINSTALL file
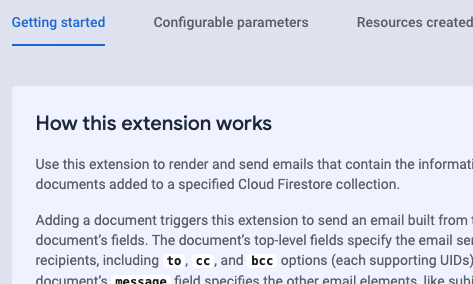
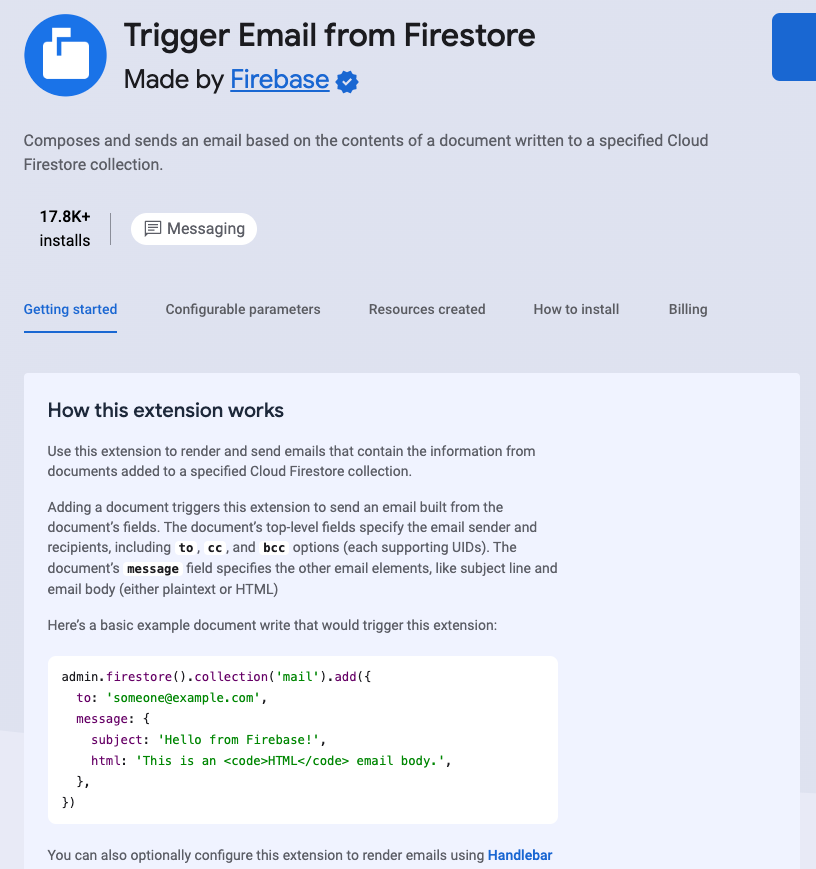
The PREINSTALL file is your extension's overview, a type of "marketing" page.
What content is in this file?
- Comprehensive description of your extension's functionality
- List of prerequisites, such as database setup or access to a non-Google service (example)
- Brief description of any pre-installation tasks and their instructions
- Brief description of any post-installation tasks
(example)
(detailed instructions go in
POSTINSTALL) - Brief description of any billing implications (start with boilerplate text)
Where does this content display to the user?
 Firebase console">
 Firebase console">
- On the extension's page on extensions.dev.
- Your source code repo for your extension (inside the extension directory)
- As part of the extension's README (if you use the Firebase CLI
--markdown > README.md
PREINSTALL files cannot access the parameter values for the extension, so you
should not expect parameter references to render with actual values.
What are some best practices?
- Keep the full content of the
PREINSTALLfile to under one page, if possible - Provide the level of detail that an end user absolutely needs to know before installing the extension
- Put detailed instructions in the
POSTINSTALLfile or other supplementary files - Briefly mention if you provide other tools or scripts to support the extension
We recommend using as much of the following boilerplate text as possible, as applicable for your extension. We have provided some examples, but the most important point is to ensure all Google and non-Google billed services are listed.
You can use the following resources to find the correct product pricing details:
For all extensions, include this section to help your users understand billing implications:
Billing

This extension uses other Firebase or Google Cloud services which may have
  associated charges:

*   <list Google services / products that your extension uses>
*   <list Firebase services that your extension uses>
*   Cloud Secret Manager <if the extension uses secret params>
*   Cloud Functions

When you use Firebase Extensions, you're only charged for the underlying
resources that you use. A paid-tier billing plan is only required if the
extension uses a service that requires a paid-tier plan, for example calling to
a Google Cloud API or making outbound network requests to non-Google services.
All Firebase services offer a no-cost tier of usage.
[Learn more about Firebase billing.](https://firebase.google.com/pricing)

<Applicable info about billing implications for non-Google services, such as:>
Usage of this extension also requires you to have a <non-Google-service> account.
You are responsible for any associated costs with your usage of <non-Google-service>.
Writing a POSTINSTALL file
The POSTINSTALL file is your extension's detailed post-installation
instructional page.
What content is in this file?
- Detailed instructions for any required post-installation tasks, like setting up Firebase security rules or adding client-side code (example)
- Generic instructions for how to immediately try out the installed extension (for example, "go to the console, then do this")
- Basic information about how to trigger the extension, especially for HTTP request-triggered extensions
- Brief directions for how to monitor the installed extension (start with boilerplate text)
Where does this content display to the user?
 Firebase console">
 Firebase console">
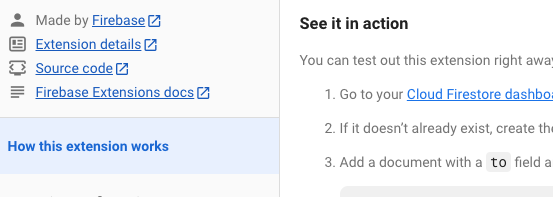
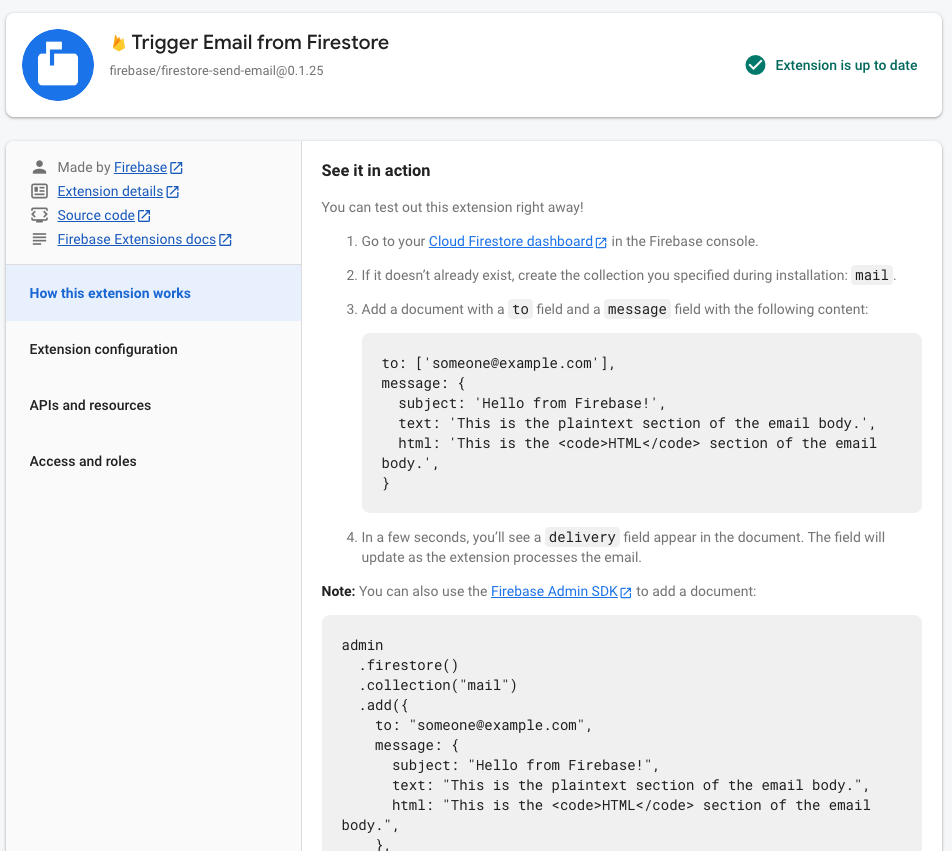
In the Firebase console after a user installs your extension (in the installed extension's detail card)
- Make sure to review the display of the
POSTINSTALLcontent by installing your extension in an actual project.
- Make sure to review the display of the
Your source code repo for your extension (inside the extension directory)
POSTINSTALL files can access the parameter values and several function-related
variables for the extension. When the POSTINSTALL content is displayed in
the Firebase console, the actual values display rather than the parameter
or variable references. Learn more below about how to reference parameters and
variables in your POSTINSTALL file.
What are some best practices?
- Keep the full content of the
POSTINSTALLfile concise, but descriptive. - Section the content using headings to break apart distinct tasks or concepts.
- Consider publishing detailed instructions for a specific workflow or task on your website (example) or in supplementary markdown files within the extension repository (example).
- Reference parameters and function-related variables so that the user sees their configured values in context of the instructions
Referencing parameters and variables
After installation, the Firebase console displays the contents of the
extension's POSTINSTALL file. If you reference parameters and function-related
variables (see table below) in your POSTINSTALL file, then the console
populates these references with the actual values for the installed instance.
Access configured parameter values in the POSTINSTALL file using the
following syntax: ${param:PARAMETER_NAME}
You can also reference the following function-related variables in your
POSTINSTALL file only. Firebase supports these variables so that you can
more easily provide guidance to your users post-installation. They're only
available to use in the POSTINSTALL file because values for these variables
aren't available until after installation.
In this table, function-name is the value of the
name field in the
function's resource object within extension.yaml.
| Reference for function-related variable | Description | Variable value (auto-populated by Firebase after extension installation) |
|---|---|---|
${function:function-name.location}
|
||
| Location where the function is deployed |
Example value:us-central1
|
|
${function:function-name.name}
|
||
| Name of the final deployed function, which includes the extension's instance ID |
Generalized format:
Example value: |
|
${function:function-name.url}
(only applicable for HTTP functions)
|
||
| URL of the final deployed function, to which client code can make HTTP requests |
Generalized format:
Example value: |
|
We recommend using as much of the following boilerplate text as possible, as applicable for your extension.
For all extensions, include the following section to help your users monitor their installed extension:
Monitoring

As a best practice, you can
[monitor the activity](https://firebase.google.com/docs/extensions/manage-installed-extensions_community#monitor)
of your installed extension, including checks on its health, usage, and logs.
Documenting how to trigger an extension
In your extension's user documentation, you need to instruct your users about
how to trigger your extension. These instructions can be as detailed as you
think is necessary, but keep in mind the best practices for writing a
POSTINSTALL file.
For guidance on how to provide these instructions, expand the section below that
applies to your extension.
Your users can trigger a background event-triggered extension in various ways, depending on the products involved.
Make changes directly in the console
You can instruct your users to make extension-triggering changes directly in the Firebase console, especially for their initial testing of your extension. For example, say your extension creates a new Cloud Firestore document whenever a new Firebase Authentication user is created. You can instruct your users to test out an installed instance of your extension by manually adding a new Authentication user in the console. They can then observe the new document created in the Cloud Firestore section of the console.
Add client-side code
When applicable, you can also instruct your users on how to add client-side code to trigger your extension. You should direct users to the official documentation for the APIs that they'll need to use. You can also include sample apps or compiled client samples to help your users integrate the extension into their app (refer to the Distributed Counter extension for an example).
So that your users can trigger an HTTP request-triggered function (and thus the extension), you need to provide them with the deployed function's name or its URL.
The name of the final deployed function is not the same as the
name that you
specified in the function's resource object within extension.yaml. To
accommodate multiple installs of the same extension in a project, Firebase
renames the function in this format:
ext-extension-instance-id-function-name
The following bullets are suggested boilerplate text to include in your
extension's POSTINSTALL file. After installation, the Firebase console
displays the contents of the POSTINSTALL file and populates these references
with the actual configured values for the installed instance. For example, if
you defined a function named yourFunction, you could include the
following (as applicable):
For HTTP
onRequestfunctionsTo trigger this extension, make a request to or visit the following URL: **`${function:yourFunction.url}`**.For HTTP callable (
onCall) functionsThis extension is implemented as an HTTP callable function. To call it from your client app, follow the instructions in the [callable functions documentation](https://firebase.google.com/docs/functions/callable#call_the_function). The name of the function to call is **`${function:yourFunction.name}`**, and its region is **`${function:yourFunction.location}`**.
Writing a CHANGELOG file
What content is in this file?
Every extension must have a CHANGELOG.md file that documents the changes
included in each new version of your extension you publish. Put each version
under a level 2 header (##); otherwise, you can use whatever Markdown
formatting you like.
The following example is an excerpt from one of the official extensions:
## Version 0.1.3

feature - Support deletion of directories (issue #148).

## Version 0.1.2

feature - Add a new param for recursively deleting subcollections in Cloud
Firestore (issue #14).

fixed - Fixed "cold start" errors experienced when the extension runs after a
period of inactivity (issue #48).

## Version 0.1.1

Initial release of the _Delete User Data_ extension.
Where does this content display to the user?
- In the Firebase console and CLI, when users upgrade to new versions of your extension. The Firebase console and CLI display only the changes that would take effect if the user were to complete the upgrade.
- Your extension's source code repo (inside the extension directory).
