
如果您在 GitHub 代码库中拥有现有的 Next.js 或 Angular 应用(Next.js 版本 13.5.x 或更高版本或 Angular 18.2.x 或更高版本),那么只需创建 App Hosting 后端,然后通过推送到实时分支来开始发布,即可轻松开始使用 App Hosting。如果您没有应用,请使用我们的某个示例应用来逐步完成本指南中所述的步骤。
本指南介绍了如何在 Firebase 控制台中设置 App Hosting,以便在每次向 GitHub 代码库提交新内容时自动进行部署。完成此流程后,您将获得一个实时 Next.js 或 Angular 示例应用,该应用会在您每次向 GitHub 代码库的 main 分支提交新更改时重新部署。
虽然本指南侧重于推荐的 Firebase 控制台流程,但还有其他部署方式,包括使用 Firebase CLI 部署本地代码,而无需 GitHub 连接。
第 1 步:派生演示代码库
访问 https://github.com/firebase/apphosting-adapters,然后选择 Fork。
第 2 步:创建 App Hosting 后端
在 Firebase 控制台中,依次前往Hosting & Serverless > App Hosting。
点击开始使用。
如果系统提示,请升级到随用随付 Blaze 定价方案,以便使用 App Hosting。
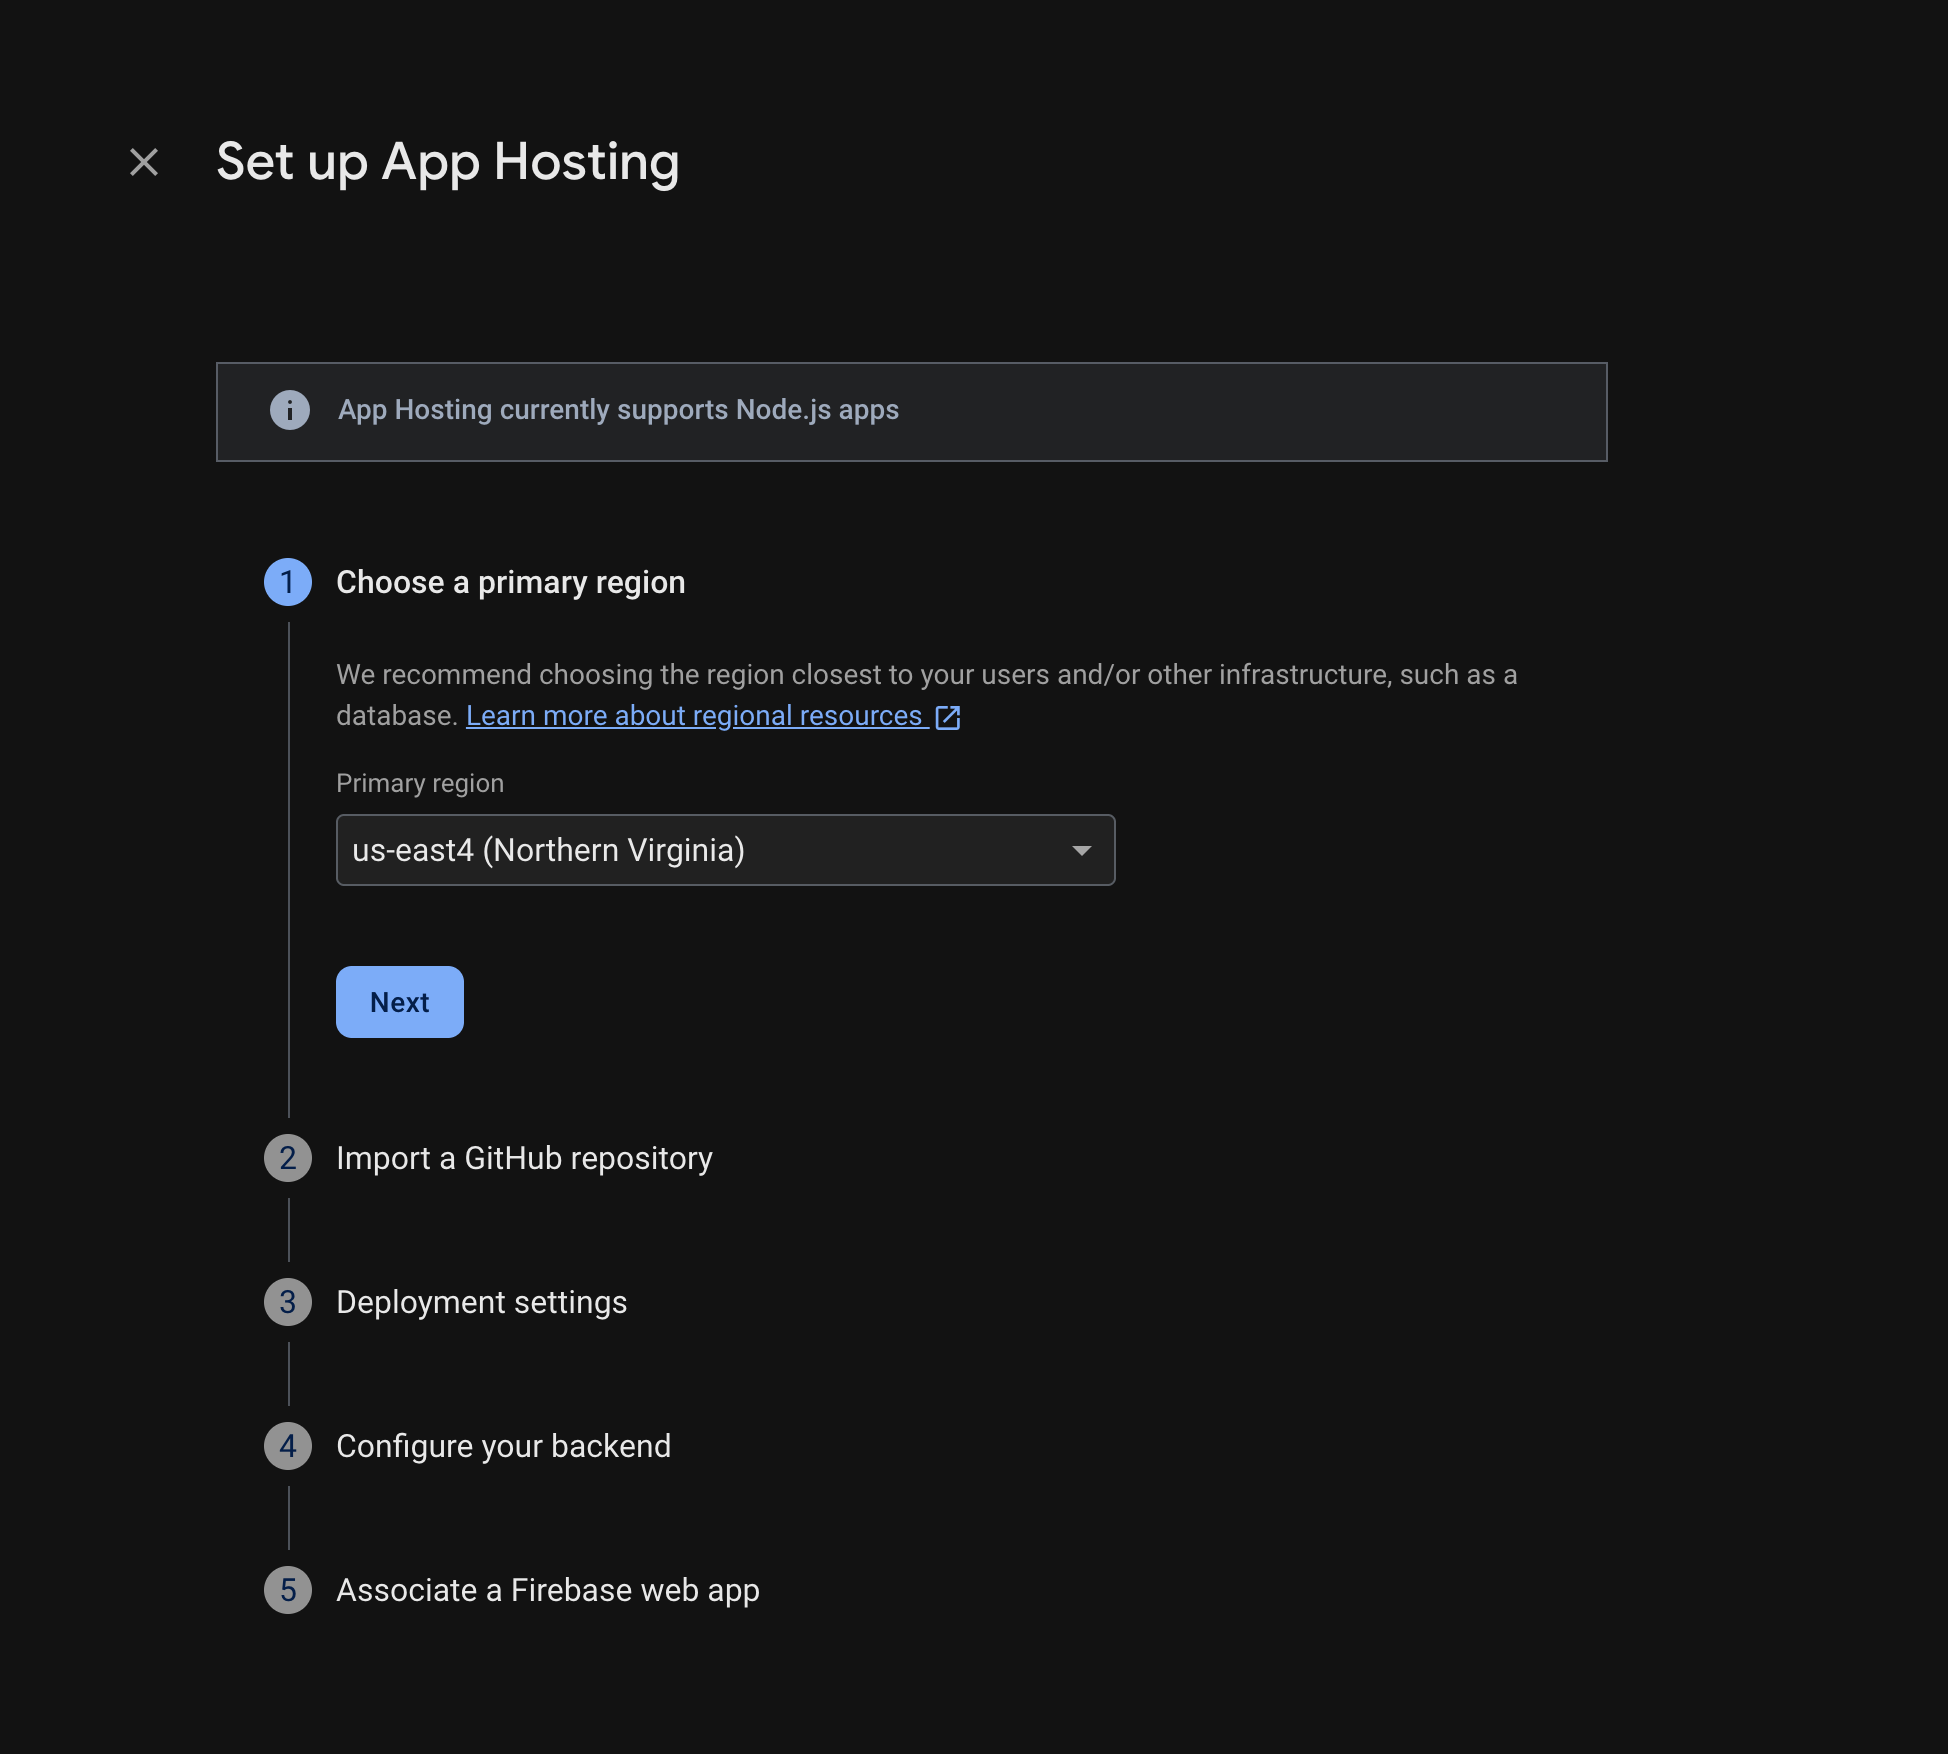
按照提示完成以下步骤:
- 选择主要区域(通常是离用户最近的区域)。
- 关联到 GitHub。选择您刚刚通过派生 firebase-framework-tools 代码库创建的代码库。
- 将应用的根目录设置为以下任一值:
- 将正式版分支设置为 main。
- 启用自动发布(自动发布功能默认处于启用状态)。
- 为后端分配名称。
- 创建新的 Firebase Web 应用。
选择完成并部署。
第 3 步:查看已部署的应用
创建后端时,Firebase 会为您提供一个免费子网域,供最终用户访问您的 Web 应用。该子网域的格式为 backend-id--project-id.us-central1.hosted.app。
在后端的信息中心内,找到后端信息行,然后选择指向实时后端的链接,以查看新网站:

第 4 步:通过推送更改来触发发布
创建后端并获得实际网址后,您可以在每次将更改推送到 GitHub 代码库的实时分支时,触发新版 Web 应用的发布。如需测试 App Hosting 设置,请执行以下操作:
在演示 GitHub 代码库的复刻中,前往演示版应用首页的源代码,进行任何可识别的修改,然后将更改推送到主分支。如需查找首页,请执行以下操作:
- Next.js:
/starters/nextjs/basic/src/app/page.tsx - Angular:
/starters/angular/basic/src/app/pages/home/home.component.html
- Next.js:
在 Firebase 控制台中,监控 App Hosting,因为您的新更改会逐步部署到生产环境。推出完成后,您可以在应用的首页中查看相应更改。
后续步骤
- 深入了解:完成一个 Firebase Codelab,该 Codelab 将托管的应用与 Firebase Authentication 和 Google AI 功能集成:Next.js | Angular
- 关联自定义网域。
- 配置后端 - 设置环境变量、存储 Secret 参数等。
- 监控发布、网站使用情况和日志。