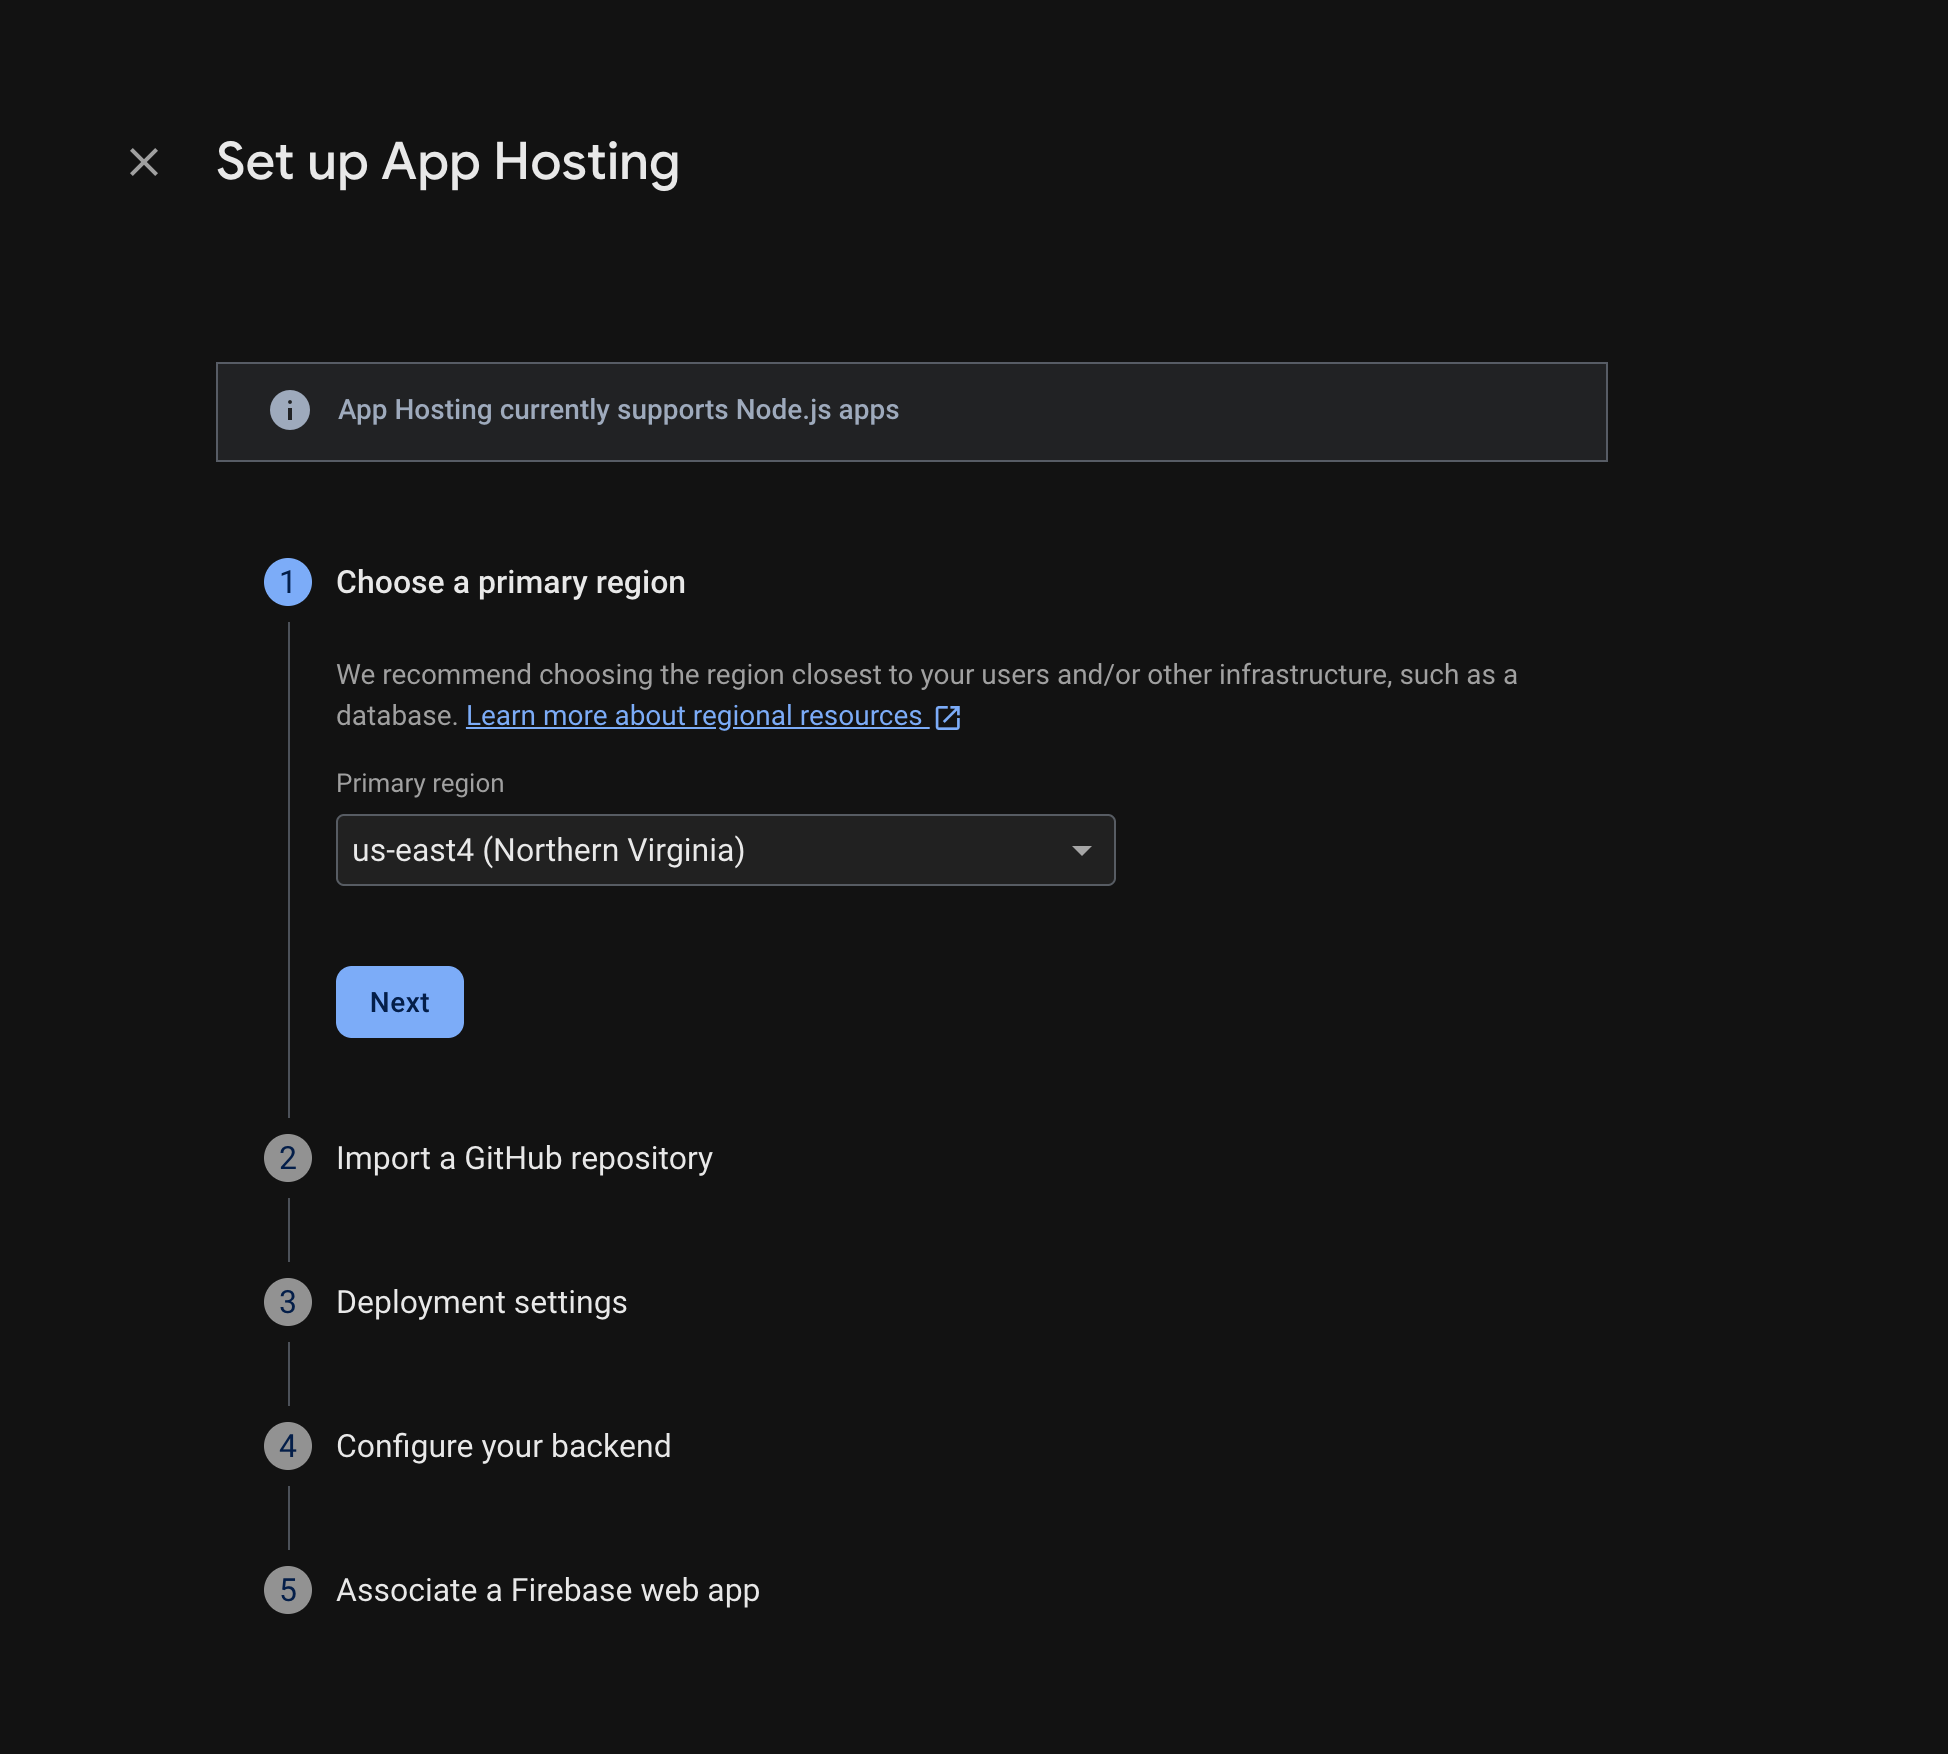
[null,null,["最后更新时间 (UTC):2025-08-23。"],[],[],null,["# Get started with App Hosting\n\n\u003cbr /\u003e\n\nWith an existing Next.js or Angular app (Next.js versions 13.5.x+\nor Angular 18.2.x+)\nin a GitHub repository, getting started with App Hosting can be as\nstraightforward as creating an App Hosting backend and then starting a\nrollout with a push to your live branch. If you don't have an app, use one of\nour sample apps to walk through the steps described in this guide.\n\nBefore you begin\n----------------\n\nBefore you can set up Firebase App Hosting, you'll need to create a Firebase\nproject (if you don't already have one) and upgrade to the Blaze plan.\n\nTo create a project:\n\n### New to Firebase or Cloud\n\n\nFollow these steps if you're new to Firebase or Google Cloud. \n\nYou can also follow these steps if you want to create a wholly new\nFirebase project (and its underlying Google Cloud project).\n\n1. Sign into the [Firebase console](//console.firebase.google.com/).\n2. Click the button to create a new Firebase project.\n3. In the text field, enter a **project name**.\n\n If you're part of a Google Cloud org, you can optionally select which\n folder you create your project in.\n | Your project name is used as a display name in Firebase interfaces, and Firebase auto-creates a unique project ID based on this project name. Note that you can optionally click the **Edit** icon now to set your preferred project ID, but you cannot change this ID after project creation. Learn about [how Firebase uses the\n | project ID](/docs/projects/learn-more#project-id).\n4. If prompted, review and accept the [Firebase terms](/terms), then click **Continue**.\n5. *(Optional)* Enable AI assistance in the Firebase console (called \"Gemini in Firebase\"), which can help you get started and streamline your development process.\n6. *(Optional)* Set up Google Analytics for your project,\n which enables an optimal experience using these Firebase products:\n [Firebase A/B Testing](/docs/ab-testing),\n [Cloud Messaging](/docs/cloud-messaging),\n [Crashlytics](/docs/crashlytics),\n [In-App Messaging](/docs/in-app-messaging), and\n [Remote Config](/docs/remote-config)\n (including\n [Personalization](/docs/remote-config/personalization)).\n\n Either select an existing\n [Google Analytics account](//support.google.com/analytics/answer/1009618)\n or create a new account. If you create a new account, select your\n [Analytics reporting location](/docs/projects/locations),\n then accept the data sharing settings and Google Analytics terms\n for your project.\n | You can always set up Google Analytics later in the [*Integrations* tab](//console.firebase.google.com/project/_/settings/integrations) of your settings *Project settings*.\n7. Click **Create project**.\n\nFirebase creates your project, provisions some initial resources, and\nenables important APIs. When the process completes, you'll be taken to the\noverview page for your Firebase project in the Firebase console.\n\n### Existing Cloud project\n\n\nFollow these steps if you want to start using Firebase with an existing\nGoogle Cloud project. Learn more about\n[\"adding\nFirebase\" to an existing Google Cloud project](/docs/projects/use-firebase-with-existing-cloud-project).\n\n1. Sign into the [Firebase console](//console.firebase.google.com/) with the account that gives you access to the existing Google Cloud project.\n2. Click the button to create a new Firebase project.\n3. At the bottom of the page, click **Add Firebase to Google Cloud project**.\n4. In the text field, start entering the **project name** of the existing project, and then select the project from the displayed list.\n5. Click **Open project**.\n6. If prompted, review and accept the [Firebase terms](/terms), then click **Continue**.\n7. *(Optional)* Enable AI assistance in the Firebase console (called \"Gemini in Firebase\"), which can help you get started and streamline your development process.\n8. *(Optional)* Set up Google Analytics for your project,\n which enables an optimal experience using these Firebase products:\n [Firebase A/B Testing](/docs/ab-testing),\n [Cloud Messaging](/docs/cloud-messaging),\n [Crashlytics](/docs/crashlytics),\n [In-App Messaging](/docs/in-app-messaging), and\n [Remote Config](/docs/remote-config)\n (including\n [Personalization](/docs/remote-config/personalization)).\n\n Either select an existing\n [Google Analytics account](//support.google.com/analytics/answer/1009618)\n or create a new account. If you create a new account, select your\n [Analytics reporting location](/docs/projects/locations),\n then accept the data sharing settings and Google Analytics terms\n for your project.\n | You can always set up Google Analytics later in the [*Integrations* tab](//console.firebase.google.com/project/_/settings/integrations) of your settings *Project settings*.\n9. Click **Add Firebase**.\n\nFirebase\n[adds\nFirebase to your existing project](/docs/projects/use-firebase-with-existing-cloud-project#faq_what-happens-when-add-firebase).\nWhen the process completes, you'll be taken to the overview page for your\nFirebase project in the Firebase console.\n\nStep 0 (optional): Create a GitHub repository and web app\n---------------------------------------------------------\n\nIf you don't already have a web app residing in a GitHub repository, or if you'd\nrather try the flow with a sample app, start by initializing one of our samples,\nfor either Next.js or Angular: \n\n npm init @apphosting\n\nYou can run the sample app locally using `next dev` or `ng start`. To continue,\n[create a new GitHub repository](https://docs.github.com/en/repositories/creating-and-managing-repositories/creating-a-new-repository)\nand push the newly-initialized sample code to it.\n\nStep 1: Create an App Hosting backend\n-------------------------------------\n\nAn App Hosting backend is the collection of managed resources that\nApp Hosting creates to build and run your web app.\n| A project Owner must create the *first* App Hosting backend for a project. After this initial setup, App Hosting Admins also can create and manage additional backends. For details, see [Firebase App Hosting IAM roles](/docs/projects/iam/roles-predefined-product#app-hosting).\n\n**Firebase console** : From the **Build** menu, select **App Hosting** and then\n**Get started**.\n\n**CLI:** (Version 13.15.4 or later) To create a backend, run the following\ncommand from the root of your local project directory, supplying your\n[projectID](/docs/projects/learn-more#project-id) as an argument: \n\n firebase apphosting:backends:create --project \u003cvar label=\"project ID\" translate=\"no\"\u003ePROJECT_ID\u003c/var\u003e\n\nFor both console or CLI, follow the prompts to choose a\n[region](/docs/app-hosting/about-app-hosting#locations), set up a\n[GitHub connection](/docs/app-hosting/about-app-hosting#repo-integration),\nand configure these basic deployment settings:\n\n- Set **your app's root directory** (defaults to `/`)\n\n This is usually where your `package.json` file is located.\n\n\u003c!-- --\u003e\n\n- Set the **live branch**\n\n This is the branch of your GitHub repository that gets deployed to your\n live URL. Often, it's the branch into which feature branches or development\n branches are merged.\n- Accept or decline **automatic rollouts**\n\n Automatic rollouts are enabled by default. At completion of backend creation,\n you can choose for your app to be deployed to App Hosting immediately.\n- Assign a name to your backend.\n\nStep 2: View the deployed app\n-----------------------------\n\nWhen you create a backend, Firebase gives you a no-cost subdomain where end\nusers can visit your web app. Its format\nis \u003cvar translate=\"no\"\u003ebackend-id\u003c/var\u003e`--`\u003cvar translate=\"no\"\u003eproject-id\u003c/var\u003e`.us-central1.hosted.app`.\n\nTo view your web app's URL, check the Firebase console, or run the following CLI\ncommand: \n\n firebase apphosting:backends:get --project \u003cvar translate=\"no\"\u003ePROJECT_ID\u003c/var\u003e \u003cvar translate=\"no\"\u003e{BACKEND_ID}\u003c/var\u003e\n\n| **Note:** After creating your backend, it may take around five minutes for your app's URL to work.\n\nStep 3: Trigger a rollout by pushing a change\n---------------------------------------------\n\nOnce your backend is created and you have a live URL, you can\ntrigger the rollout of a new version of your web app whenever you push\nchanges into the live branch of your GitHub repository. To perform a\ntest of your App Hosting setup:\n\n1. In GitHub, push a change to the live branch of the web app.\n2. Open the [App Hosting tab](//console.firebase.google.com/project/_/apphosting) in the Firebase console and select **View dashboard** for your backend. The table list displays the specific commit associated with the rollout triggered by your change.\n\nNext steps\n----------\n\n- Go deeper: walk through a Firebase codelab that integrates a hosted app with Firebase Authentication and Google AI features: [Next.js](https://firebase.google.com/codelabs/firebase-nextjs) \\| [Angular](https://firebase.google.com/codelabs/firebase-web)\n- [Connect a custom domain](/docs/app-hosting/custom-domain).\n- [Configure your backend](/docs/app-hosting/configure)---set environment variables, store secret parameters, and more.\n- [Monitor rollouts, site usage, and logs](/docs/app-hosting/rollouts)."]]