
FCM HTTP v1 API और सूचना कंपोज़र, दोनों ही डिलीवरी के बाद डिवाइस पर इमेज डाउनलोड करने के लिए, डिसप्ले नोटिफ़िकेशन के पेलोड में इमेज के लिंक भेजने की सुविधा देते हैं. यह सुविधा, Apple के ऐप्लिकेशन के लिए इमेज और वीडियो, दोनों के साथ काम करती है. फ़ाइल के साइज़ की सीमाएं जानने के लिए, Apple का दस्तावेज़ देखें.
Apple के किसी ऐप्लिकेशन में सूचना वाली इमेज पाने और उन्हें मैनेज करने के लिए, आपको Notification Service Extension जोड़ना होगा. सूचना सेवा एक्सटेंशन की मदद से, आपका ऐप्लिकेशन, असली उपयोगकर्ता को सूचना दिखाने से पहले, FCM पेलोड में डिलीवर की गई इमेज को मैनेज कर सकता है.
सूचना सेवा एक्सटेंशन सेट अप करना
सेवा एक्सटेंशन जोड़ने के लिए, APNs में सूचनाओं में बदलाव करने और उन्हें दिखाने से जुड़े ज़रूरी सेटअप टास्क पूरे करें. इसके बाद, NotificationService.m में FCM एक्सटेंशन हेल्पर एपीआई जोड़ें.
खास तौर पर, कॉलबैक को self.contentHandler(self.bestAttemptContent); के बजाय FIRMessaging extensionHelper के साथ पूरा करें. जैसा कि यहां दिखाया गया है:
@interface NotificationService () <NSURLSessionDelegate>
@property(nonatomic) void (^contentHandler)(UNNotificationContent *contentToDeliver);
@property(nonatomic) UNMutableNotificationContent *bestAttemptContent;
@end

@implementation NotificationService

- (void)didReceiveNotificationRequest:(UNNotificationRequest *)request withContentHandler:(void (^)(UNNotificationContent * _Nonnull))contentHandler {
    self.contentHandler = contentHandler;
    self.bestAttemptContent = [request.content mutableCopy];

    // Modify the notification content here as you wish
    self.bestAttemptContent.title = [NSString stringWithFormat:@"%@ [modified]",
    self.bestAttemptContent.title];

  // Call FIRMessaging extension helper API.
  [[FIRMessaging extensionHelper] populateNotificationContent:self.bestAttemptContent
                                            withContentHandler:contentHandler];

}
...
अनुरोध भेजने की सुविधा बनाना
सूचना भेजने के अनुरोध में, ApnsConfig के ये विकल्प सेट करें:
fcm_options.imageमें इमेज का यूआरएल शामिल होना चाहिए. Apple के मुताबिक, इमेज के यूआरएल में मान्य फ़ाइल एक्सटेंशन शामिल होना चाहिए, ताकि संसाधन के टाइप की सही पहचान की जा सके.headers({ "mutable-content": 1})
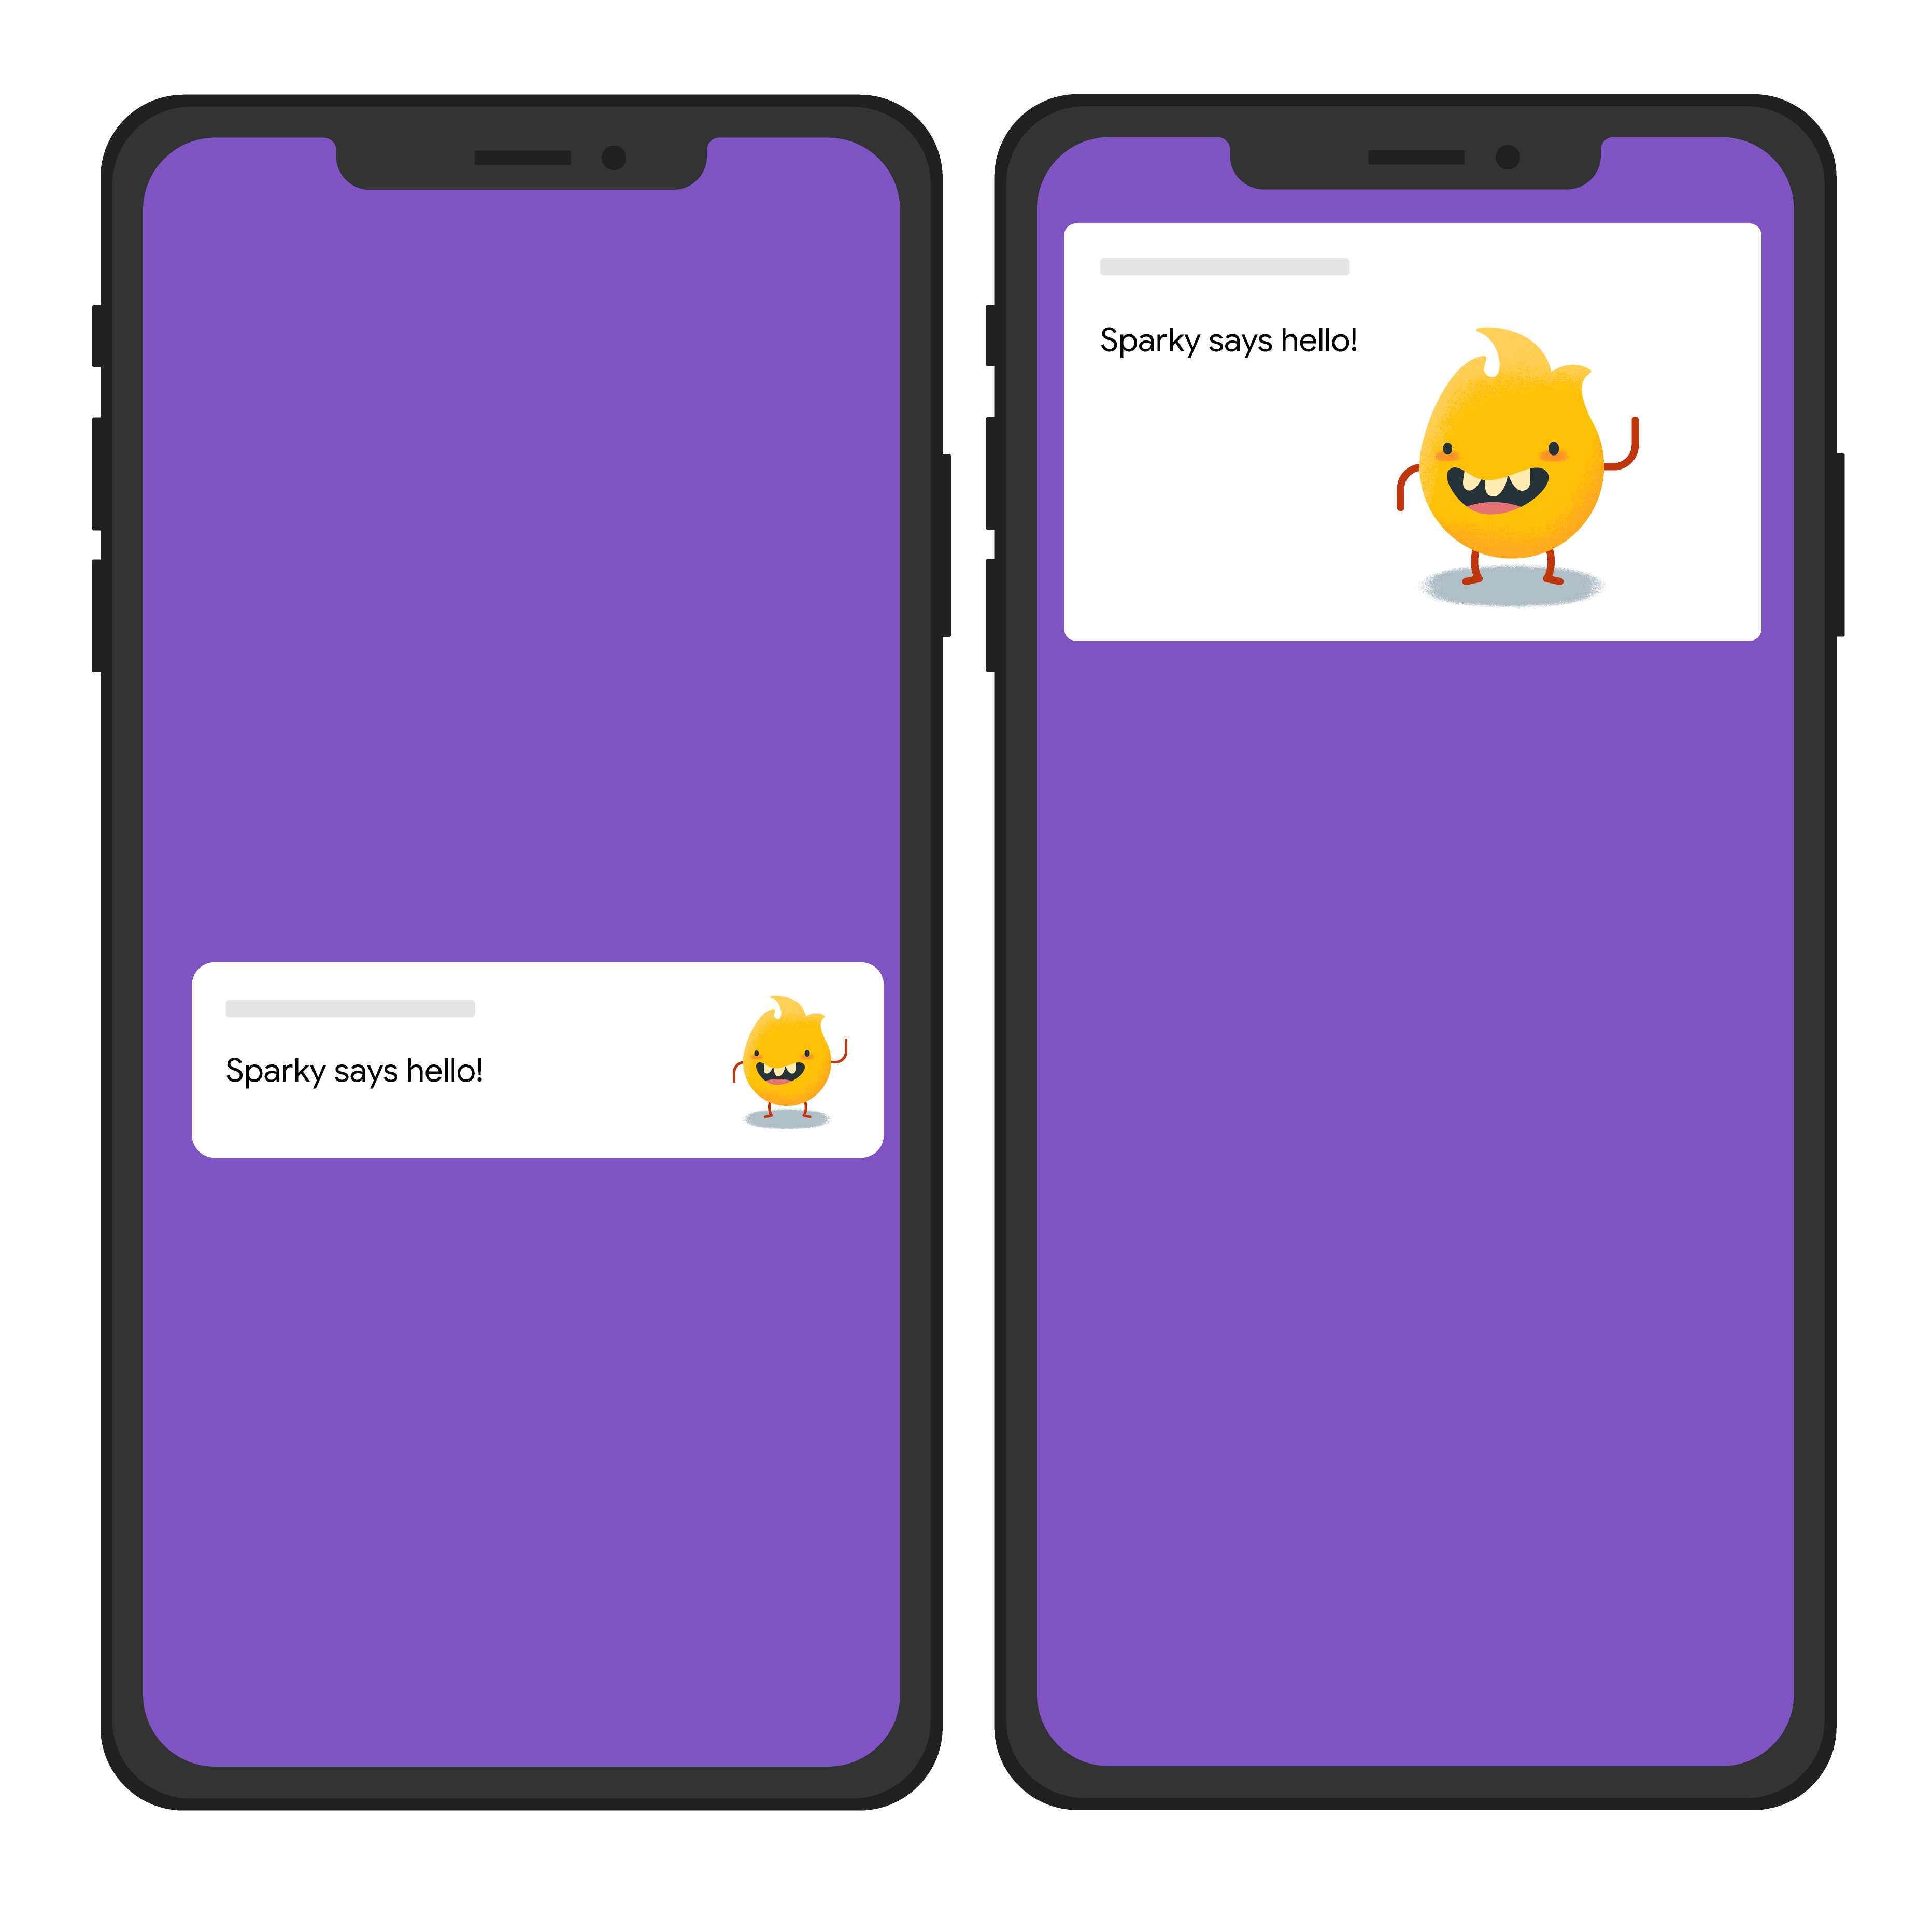
नीचे दिए गए उदाहरण में, सभी प्लैटफ़ॉर्म पर सूचना का एक सामान्य टाइटल भेजने का अनुरोध किया गया है. हालांकि, इसमें एक इमेज भी भेजी गई है. यहां उपयोगकर्ता के डिवाइस पर दिखने वाले विज़ुअल इफ़ेक्ट का अनुमान दिया गया है:
Node.js
const topicName = 'industry-tech';

const message = {
  notification: {
    title: 'Sparky says hello!'
  },
  android: {
    notification: {
      imageUrl: 'https://foo.bar.pizza-monster.png'
    }
  },
  apns: {
    payload: {
      aps: {
        'mutable-content': 1
      }
    },
    fcm_options: {
      image: 'https://foo.bar.pizza-monster.png'
    }
  },
  webpush: {
    headers: {
      image: 'https://foo.bar.pizza-monster.png'
    }
  },
  topic: topicName,
};

getMessaging().send(message)
  .then((response) => {
    // Response is a message ID string.
    console.log('Successfully sent message:', response);
  })
  .catch((error) => {
    console.log('Error sending message:', error);
  });
REST
POST https://fcm.googleapis.com/v1/projects/myproject-b5ae1/messages:send HTTP/1.1

Content-Type: application/json
Authorization: Bearer ya29.ElqKBGN2Ri_Uz...HnS_uNreA
{
  "message":{
     "topic":"industry-tech",
     "notification":{
       "title":"Sparky says hello!",
     },
     "android":{
       "notification":{
         "image":"https://foo.bar/pizza-monster.png"
       }
     },
     "apns":{
       "payload":{
         "aps":{
           "mutable-content":1
         }
       },
       "fcm_options": {
           "image":"https://foo.bar/pizza-monster.png"
       }
     },
     "webpush":{
       "headers":{
         "image":"https://foo.bar/pizza-monster.png"
       }
     }
   }
 }
मैसेज बॉडी में, प्लैटफ़ॉर्म के हिसाब से उपलब्ध ब्लॉक में मौजूद कुंजियों के बारे में पूरी जानकारी के लिए, HTTP v1 का रेफ़रंस दस्तावेज़ देखें.
mutable-content को दिखाए गए तरीके से सेट करने पर, यह अनुरोध भेजने की सुविधा, क्लाइंट को इमेज डिलीवर करने के लिए सेवा एक्सटेंशन को चालू करती है.