
1. Overview
In this codelab, you'll practice using the App Prototyping agent along with Firebase MCP server in Firebase Studio to create a full-stack web app that uses Firestore.
What you'll learn
- Generate a static web app using the App Prototyping agent
- Connect to a Firebase project
- Set up the Firebase MCP server
- Add Firestore using Firebase MCP
What you'll need
- A browser of your choice, such as Google Chrome
- A Google Account for the creation and management of your Firebase project
2. Generate your app using the App Prototyping agent
The App Prototyping agent uses Gemini in Firebase to build your app. Even when using identical prompts, the results may vary.
- Log into your Google Account, join Google Developer Program, and open Firebase Studio.
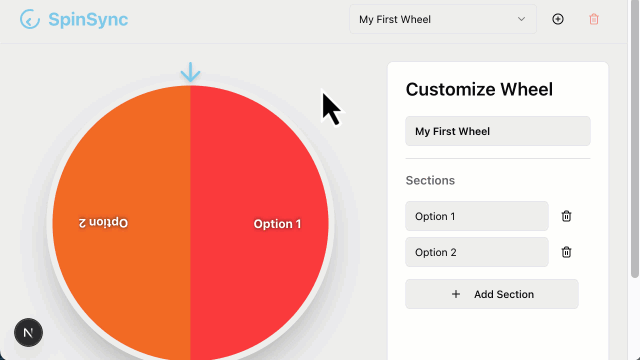
- In the Prototype an app with AI field, enter a description of the app:
An app for a picker wheel that allows custom input. - Click Improve Prompt. Review the improved prompt.
- Click Prototype with AI.
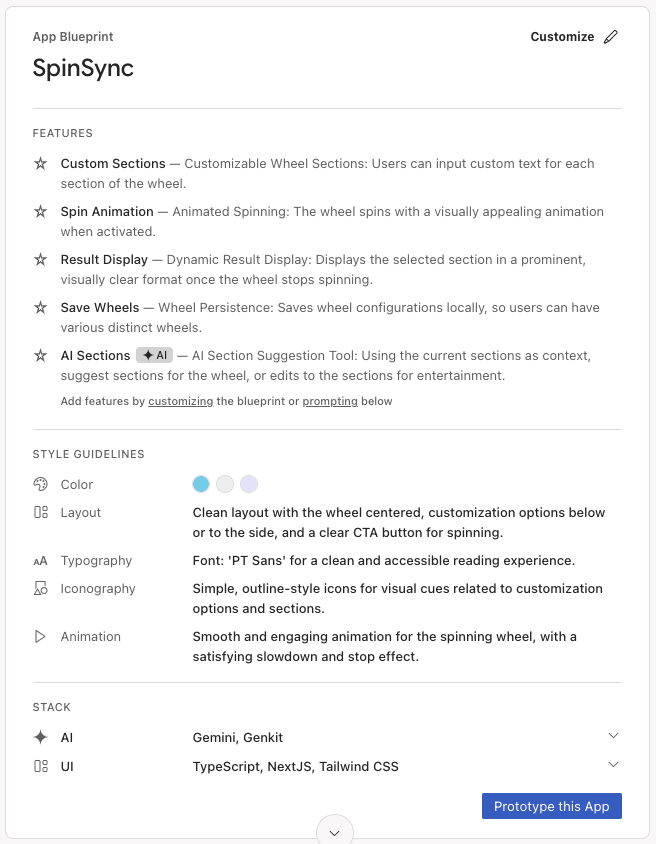
- Review the suggested App Blueprint. Click
 Customize to edit it.
 - Click Save.
- When the blueprint finishes incorporating your updates, click Prototype this App.
- If your blueprint contains AI elements, the agent prompts you for a Gemini Gemini key. Add your own Gemini API key or click Auto-generate to generate a Gemini API key. If you click Auto-generate, Firebase Studio creates a Firebase project and generates a Gemini API key for you.
- The App Prototyping agent uses the blueprint to create a first version of your app. When it's done, the preview of your app appears alongside a Gemini chat interface. Take a moment to review and test your app. If you encounter errors, click Fix Error in the chat to allow the agent to fix its own errors.
3. (Optional) Get the code
If you get stuck, use the sample files to follow along more closely with the example app from this point on.
- Download the files in the folder.
- In Firebase Studio, click
 Switch to Code to open Code view.
 - Drag the files you downloaded into the Explorer pane of Firebase Studio. Allow the files to replace any existing files.
- In the terminal (
Shift+Ctrl+C), run the following command to install packages.npm install - Open the Source Control pane of Firebase Studio, type a message to describe the code change, for example, "imported code from GitHub", then hit Commit.
- Click Switch to Prototyper to continue the codelab, using the example version of the app.
4. Connect to a Firebase project
Congratulations! You app is working locally. To give it a backend, you'll connect it to a Firebase project next.
- Ask the App Prototyping agent to connect to a Firebase project.
Connect to a Firebase project.src/lib/firebase.ts(as shown).import { initializeApp, getApp, getApps } from 'firebase/app'; const firebaseConfig = { "projectId": "foo-bar-baz", "appId": "1:630673270654:web:3eda41879acd38fa96ce14", "storageBucket": "foo-bar-baz.firebasestorage.app", "apiKey": "AIzaSyDGoMZQia334izw8JedslMTUD0fNpmFca0", "authDomain": "foo-bar-baz.firebaseapp.com", "measurementId": "", "messagingSenderId": "630673270654" }; // Initialize Firebase const app = !getApps().length ? initializeApp(firebaseConfig) : getApp(); export default app;Create a new Firebase project.
5. Set up Firebase MCP in Firebase Studio
The Firebase MCP server extends the capabilities of the App Prototyping agent by providing tools that the agent can call to set up, manage, and pull data from Firebase services, including Firebase Authentication, Cloud Firestore, and Firebase Data Connect. Here is how to set it up.
- Click Switch to Code to open the Code view.
- In the terminal (
Shift+Ctrl+C), run the following command to sign in to your Firebase account, following on-screen instructions and leave all default options:firebase login --no-localhost - From Explorer (
Ctrl+Shift+E), right-click the .idx folder, and select New file. Name the filemcp.jsonand press Enter. - Add the server configurations to
.idx/mcp.json.{ "mcpServers": { "firebase": { "command": "npx", "args": [ "-y", "firebase-tools@latest", "experimental:mcp" ] } } }
6. Add Firestore using Firebase MCP
Goal 1: Add Firestore
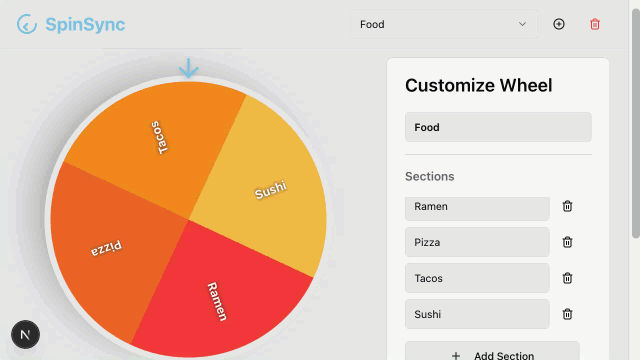
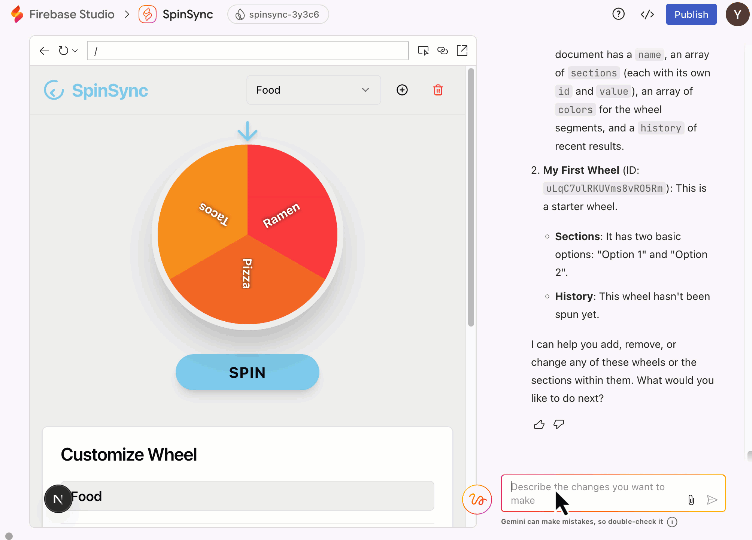
- Switch to Prototyper. In the chat interface, ask the agent to use Firestore in your app.
Use Firestore for user entries. Give anyone read and write access.- initialize Firestore by calling the Firebase MCP tool
firebase_init, which creates Firestore rules (as shown) and indexes files amongst other configuration changes - update your application code to use Firestore instead of local storage
rules_version = '2'; service cloud.firestore { match /databases/{database}/documents { match /{document=**} { allow read, write: if true; } } } - initialize Firestore by calling the Firebase MCP tool
- Switch to Code. In the terminal (
Shift+Ctrl+C), initialize Firestore if you have never enabled the Firestore API in the current Firebase project.firebase init firestorefirebase deploy --only firestore
Goal 2: Test it out
- Reload your app, create and delete entries on your picker wheel, and watch these updates on the Firestore page in Firebase Console.
- You can also chat with Firestore to query your database.
List my Firestore collections.firestore_list_collections.
7. Conclusion
Congratulations! You have successfully created a full-stack web app using the App Prototyping agent with Firebase MCP. Feel free to try other tools offered by the Firebase MCP server and expand what your app can do.