在移动、Web 和嵌入式应用中部署 AI
-
已保存在设备上
缩短延迟时间。离线工作。将您的数据保留在本地并保护其隐私。
-
跨平台
在 Android、iOS、Web 和嵌入式设备上运行相同的模型。
-
多框架
与 JAX、Keras、PyTorch 和 TensorFlow 模型兼容。
-
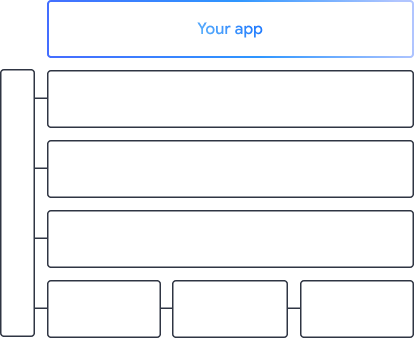
完整的 AI Edge 堆栈
灵活的框架、交钥匙解决方案、硬件加速器
现成解决方案和灵活框架
跨平台部署自定义模型
在 Android、iOS、Web 和嵌入式设备上高效运行 JAX、Keras、PyTorch 和 TensorFlow 模型,针对传统机器学习和生成式 AI 进行了优化。
开始使用 LiteRT

为复杂的机器学习功能构建自定义流水线
通过高效串联多个机器学习模型以及预处理和后处理逻辑,构建您自己的任务。运行加速型(GPU 和 NPU)流水线,而不会阻塞 CPU。
开始使用 MediaPipe 框架
为 Google 应用提供支持的工具和框架
探索完整的 AI 边缘堆栈,其中涵盖从低代码 API 到硬件专用加速库在内的各个级别的产品。
 MediaPipe Tasks
使用低代码 API 快速将 AI 功能构建到移动应用和 Web 应用中,用于处理涵盖生成式 AI、计算机视觉、文本和音频的常见任务。
生成式 AI
使用现成的 API 将生成式语言和图片模型直接集成到您的应用中。
Vision
探索各种视觉任务,涵盖分割、分类、检测、识别和身体地标。
文字和音频
对文本和音频进行分类,涵盖语言、情感和您自己的自定义类别等多个类别。


MediaPipe 框架
一种低级框架,用于构建高性能加速型机器学习流水线,通常包括多个机器学习模型以及预处理和后处理。
 LiteRT
借助经过优化的硬件专用加速功能,在移动设备、Web 和微控制器上部署使用任何框架编写的 AI 模型。
多框架
将 JAX、Keras、PyTorch 和 TensorFlow 中的模型转换为可在边缘设备上运行的模型。
跨平台
使用原生 SDK 在 Android、iOS、Web 和微控制器上运行完全相同的模型。
轻量级且快速
LiteRT 的高效运行时仅占用几兆字节,可在 CPU、GPU 和 NPU 上实现模型加速。


 模型分层图表
直观地探索、调试和比较模型。叠加性能基准和数字,以找出问题热点。
Android 和 Chrome 中的 Gemini Nano
使用 Google 最强大的设备端模型构建生成式 AI 体验